
Easy Holiday Decor DIY Decorate Like the Pros
Looking to add a special touch to your holiday décor this year but on a budget? Here are some of our event and design industry secrets to create the perfect Holiday Décor DIY projects that look like the pros!
Step 1: Choose Your Color Scheme
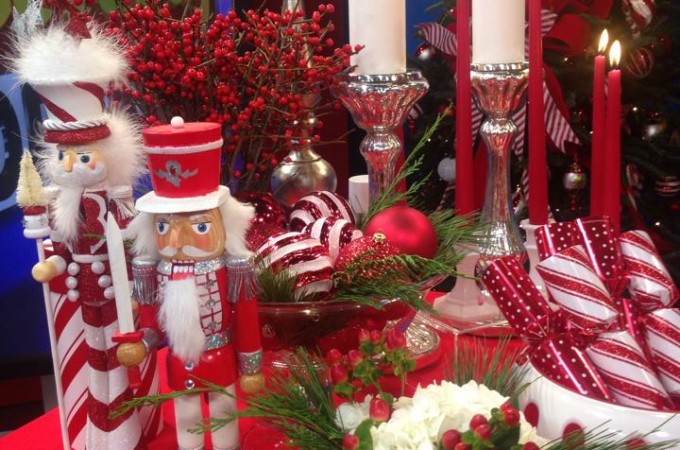
 Key to professional looking holiday décor is to pick a color scheme and work within those colors for example red with accents of gold and black or light blue with accents of sliver and white. Sometimes the simplest color schemes are the most impactful and elegant.
*Quick Tip: Purchase classic or solid color decor pieces you can reuse in your home after the holidays or use as a base and change the overall design in future years.
Step 2: Holiday Décor DIY
Holiday Bows: A gorgeous holiday bow always makes a beautiful statement whether it’s on a wreath, a decorative garland or a gorgeous present. Florist, Lee Forrest’s steps to make the perfect holiday bow: 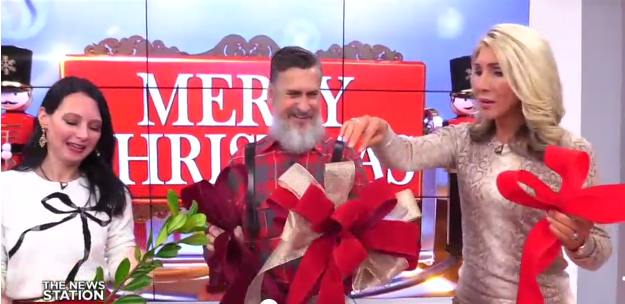
- Use wired ribbon and pull about 1′ from the spool but do not cut it. Make your first center anchor loop and twist it to seal the loop
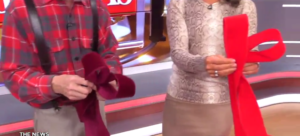
- Make two more loops about an inch larger than the center loop. Continue doing that until you have a set of 4 more loops, each one inch larger than the previous. Hold all the loops in the center and thread a pipe cleaner through the center and twist to secure all of the loops.
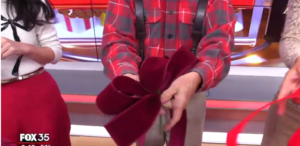
- Leave another 1′ hanging and cut from the spool. Then pull the loops to fluff and create the round shape of the bow. When you are done, you will have the perfect holiday bow!


Vase in Vase Arrangement:

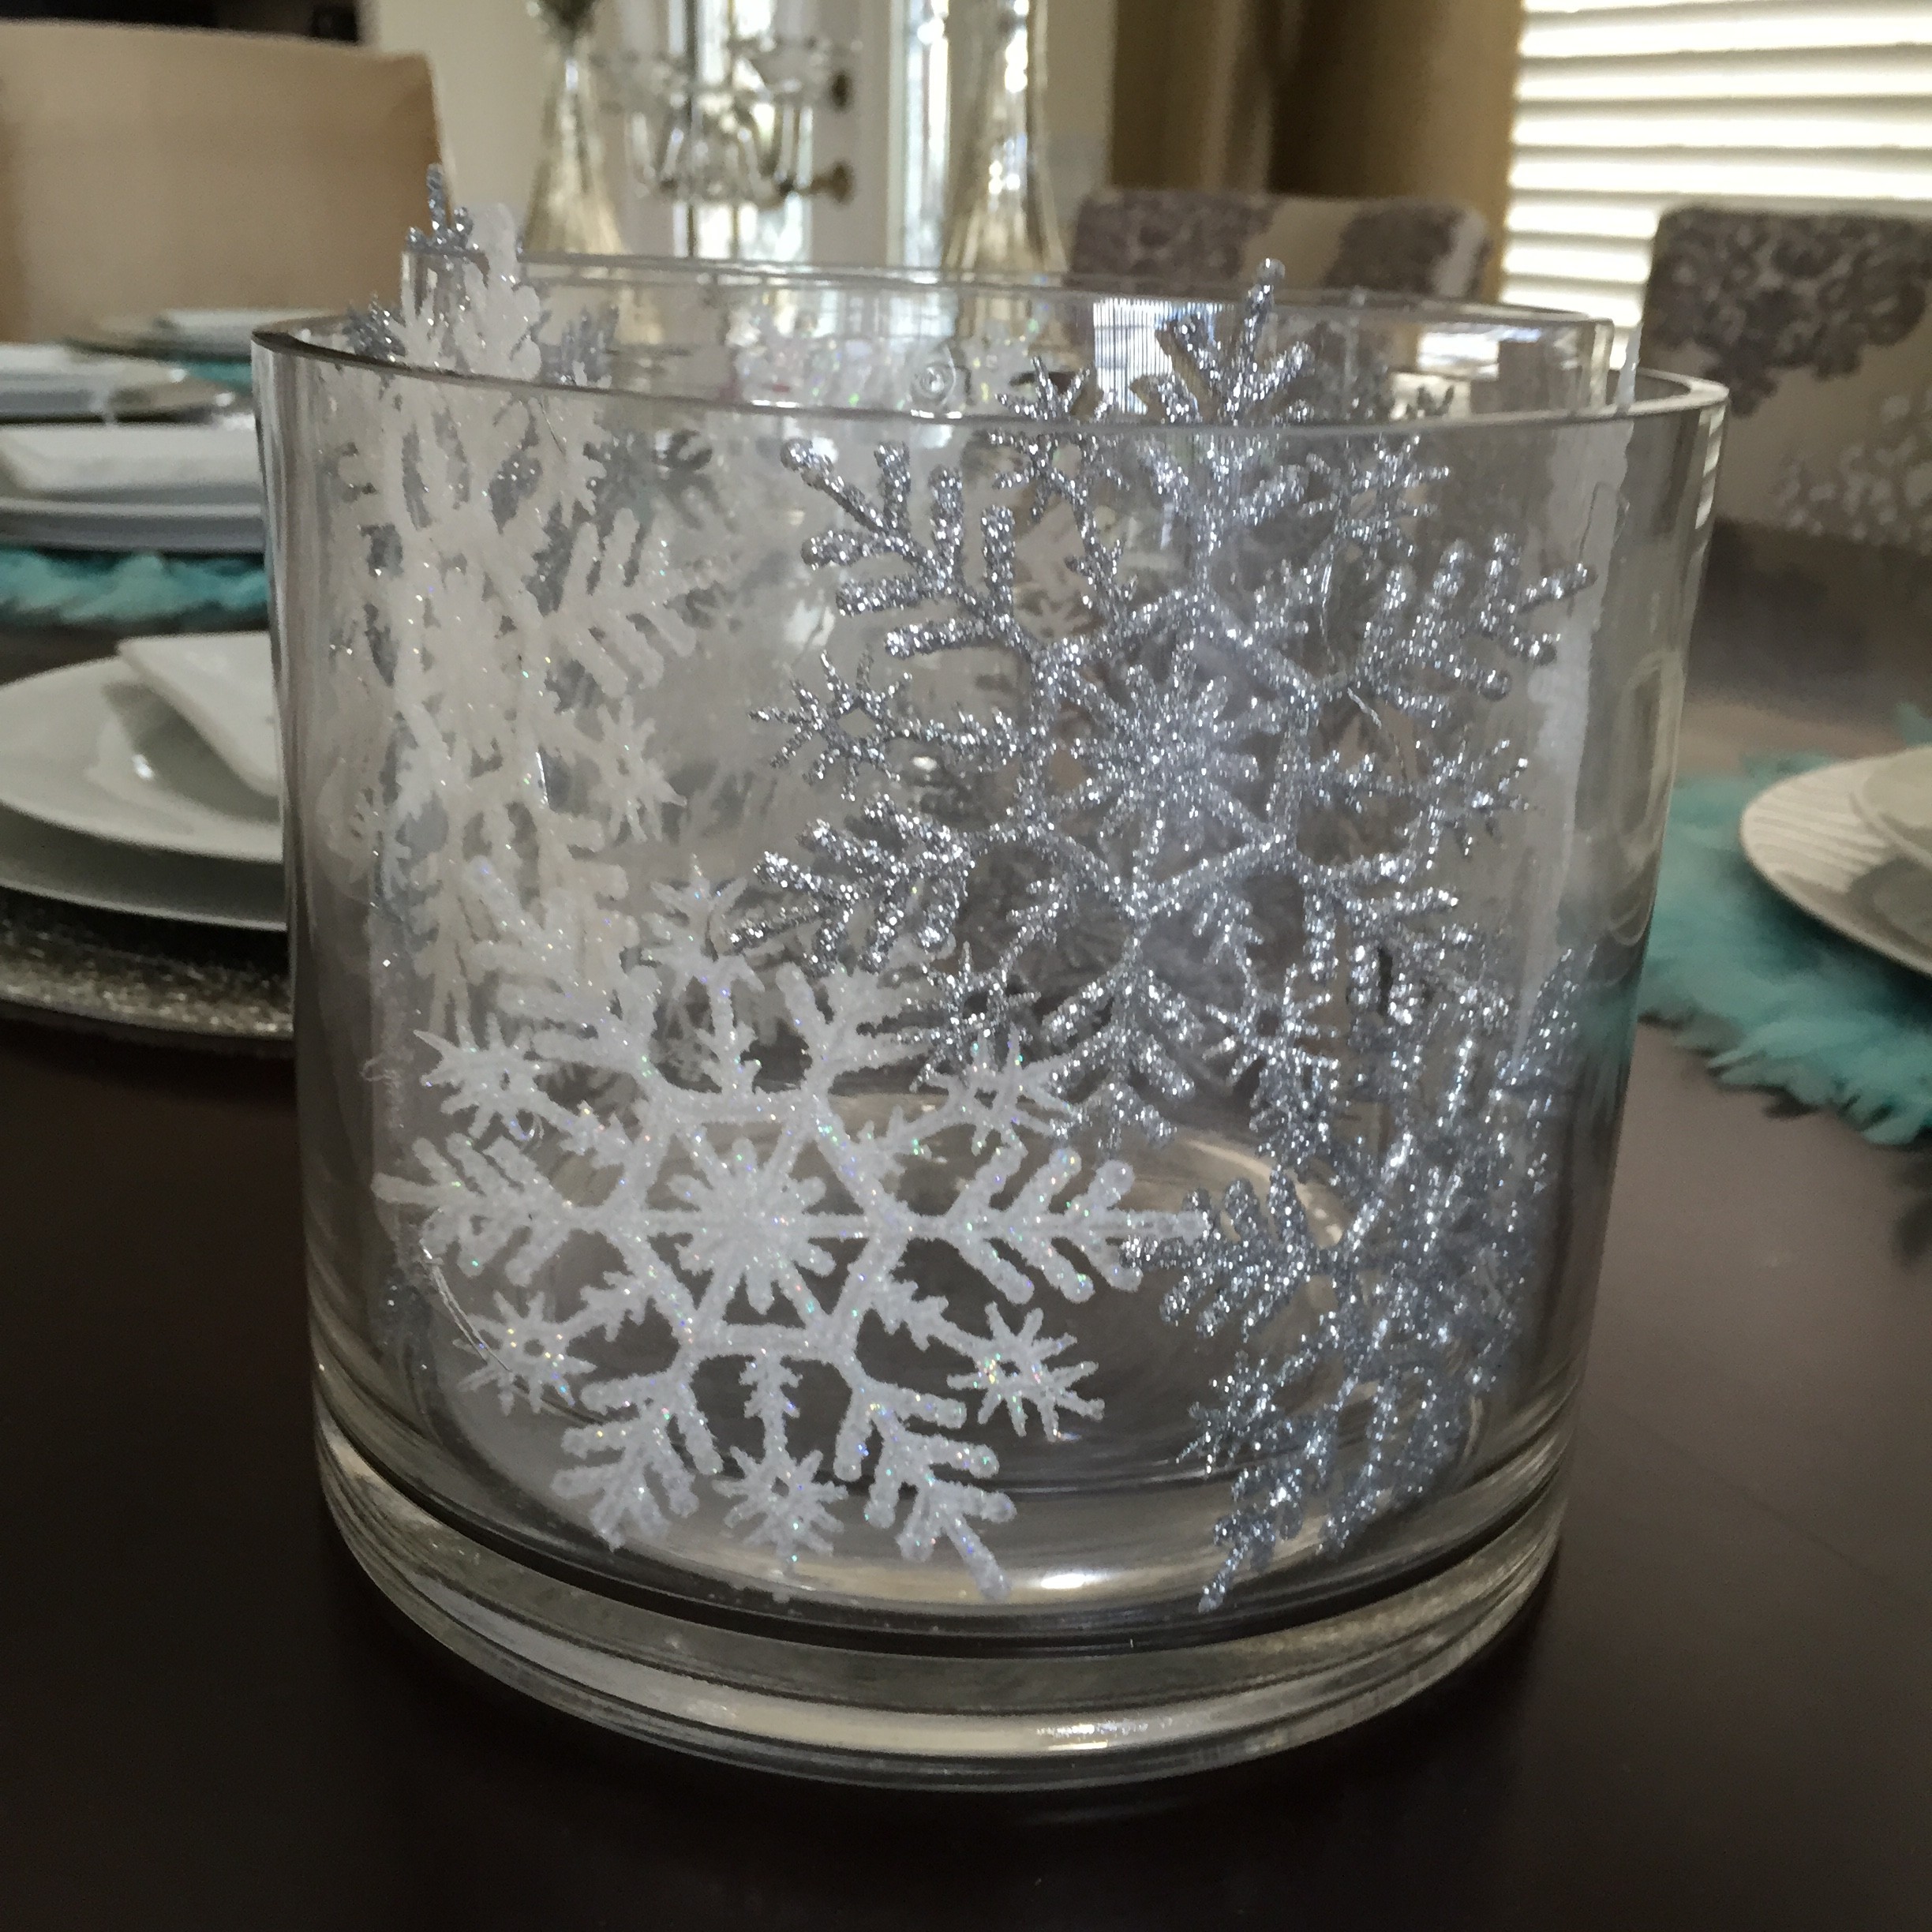 Take a larger clear glass cylinder or square vase and then insert a smaller one of the same shape inside it. Between the two vases fill it with peppermint candies, cranberries, redhot candies or snowflakes. Add some flowers and evergreen to the inside vase to top the look off.
*Quick Tip: You can use this tip for any holiday by adding spring flowers between the vases, leaves for a Fall look, heart candies for valentines day – anything you want!
Candy Cane Wrapped Vase: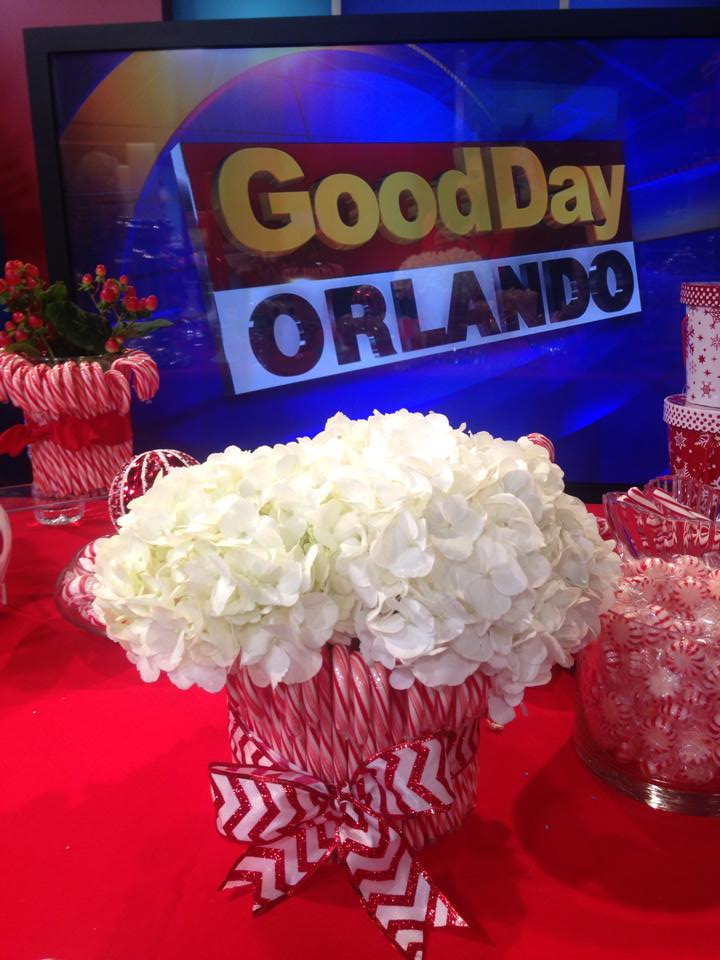 Wrap a vase with double stick tape and then put a rubberband around the vase. Slip the candy canes under the rubberband with the hook part facing out. Stick the candy canes to the tape and use the rubberband to hold it all in place. Line the entire outside of the vase with candy canes. Once you have finished that, use a ribbon to tie around the vase of candy canes and cover the rubber band. Add some gorgeous flowers like white hydrangea or red roses and voila.
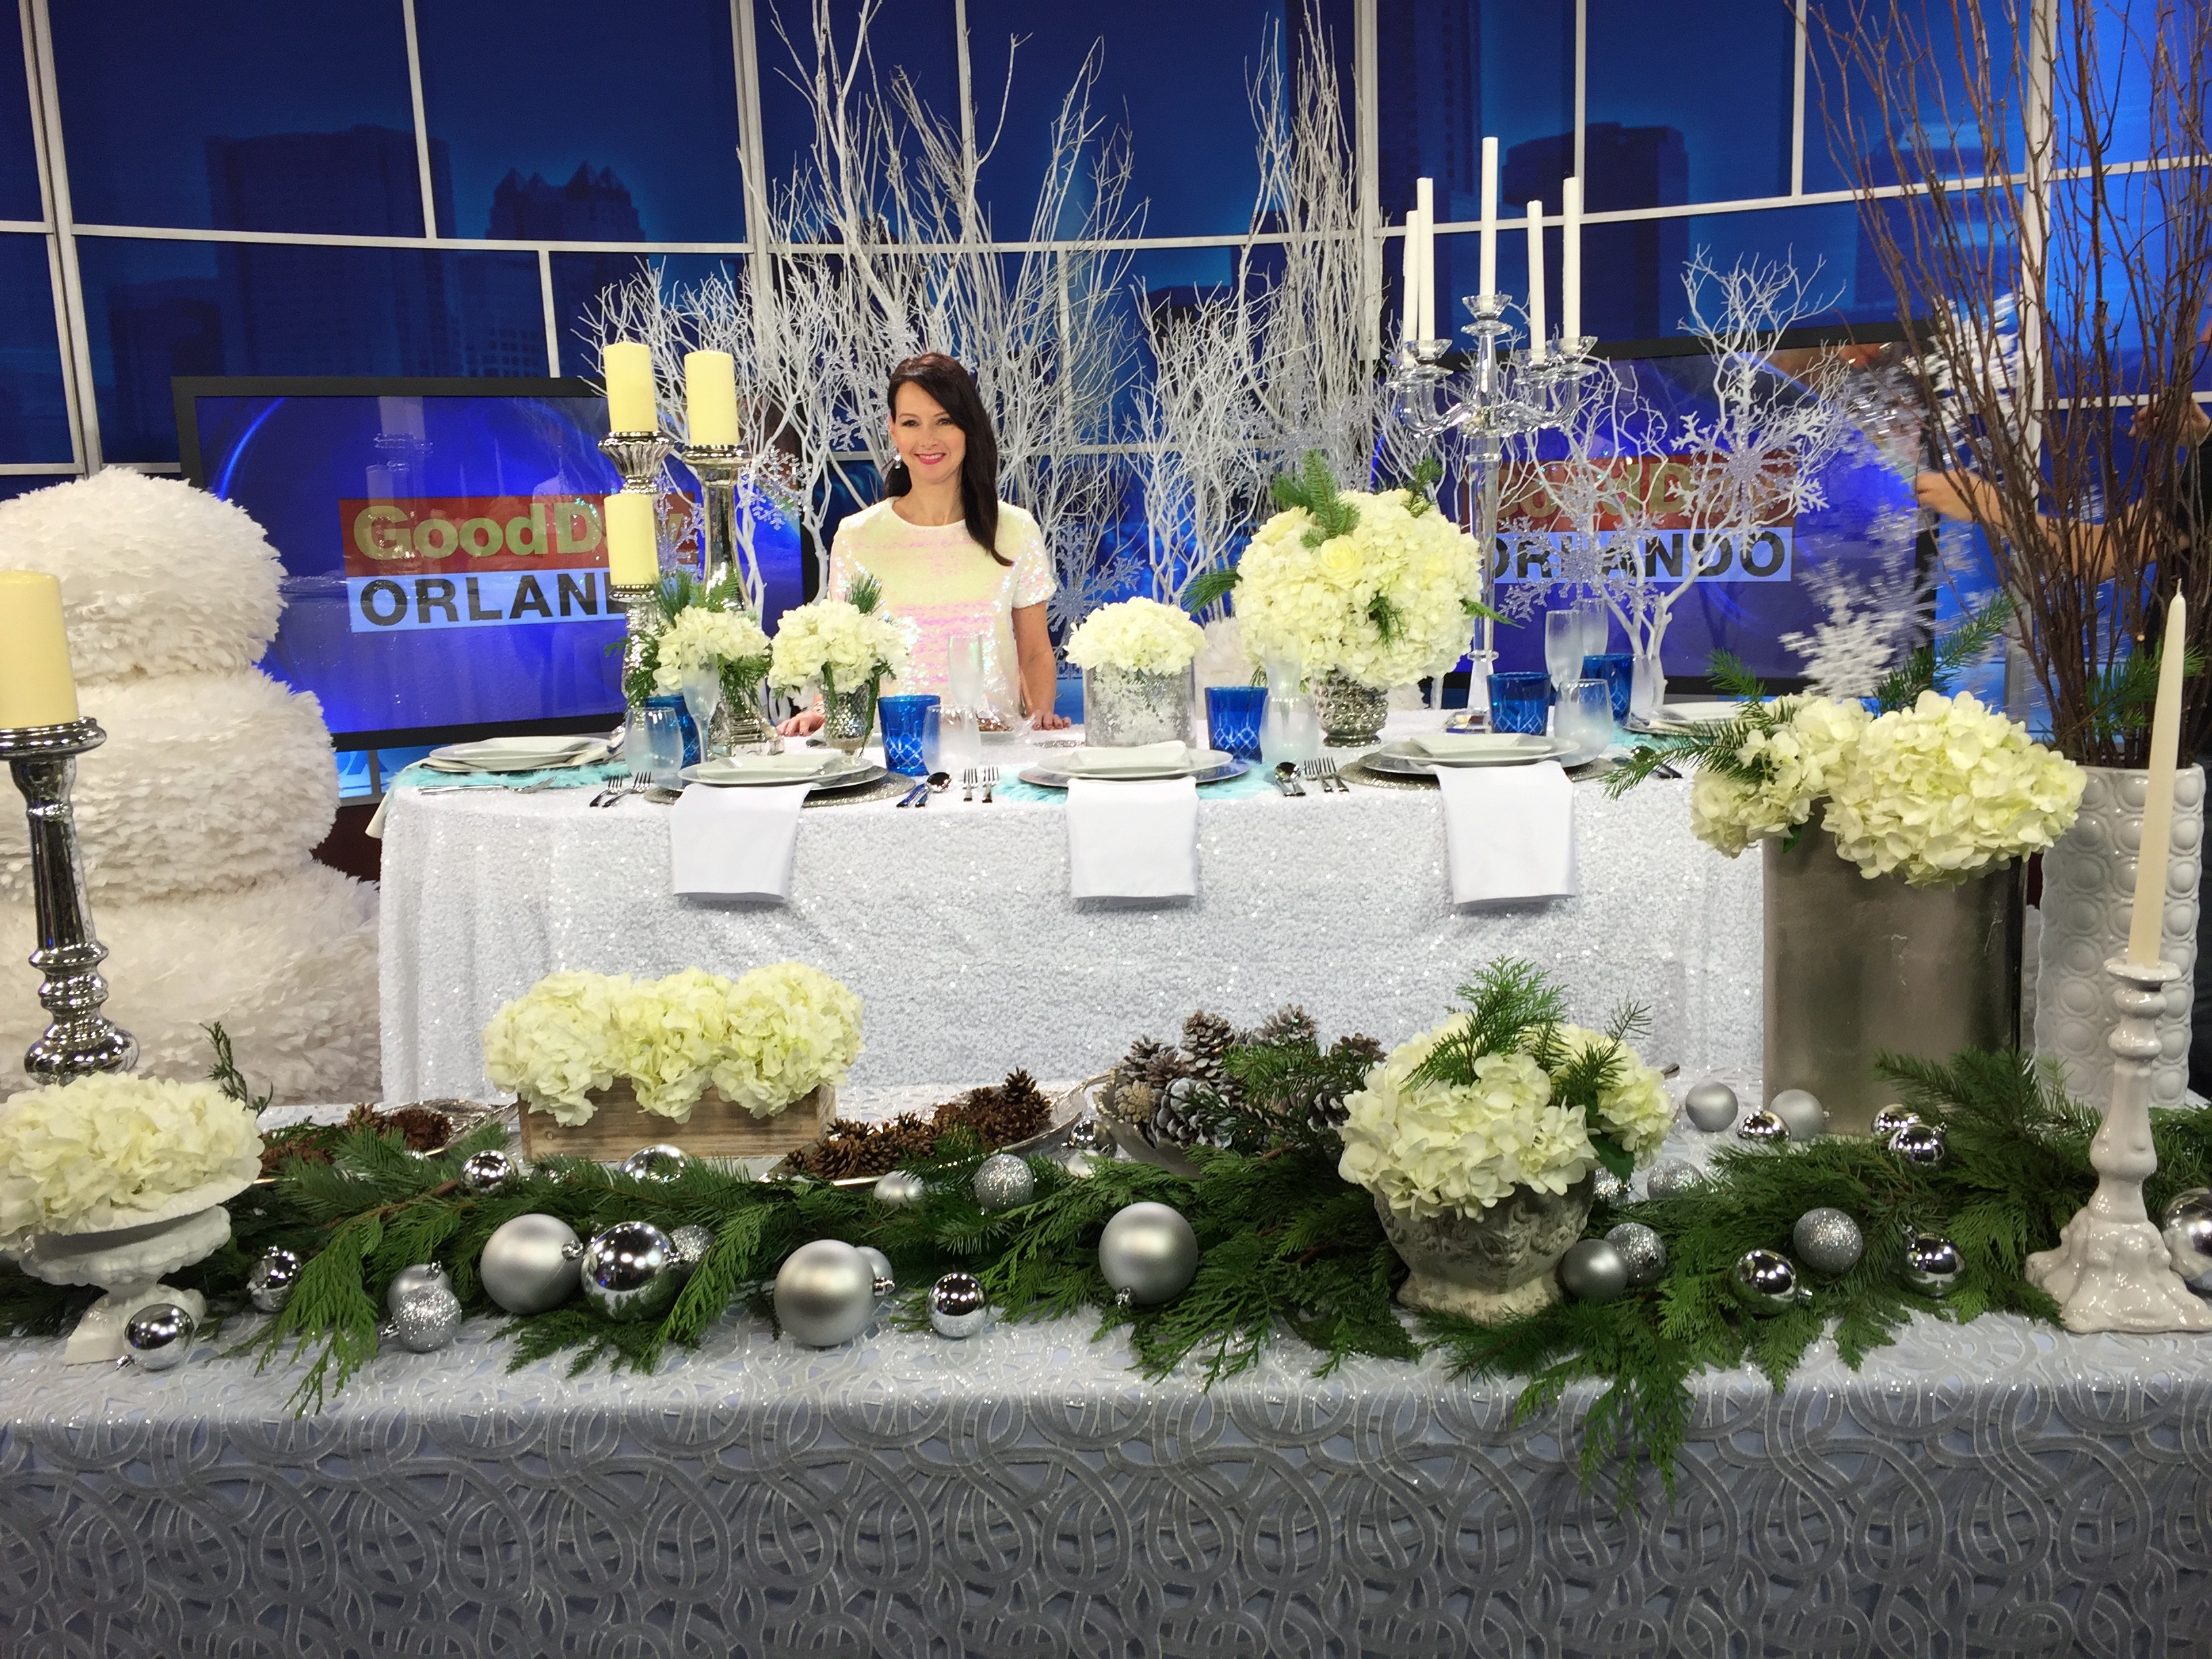
Easy Tall Arrangement:
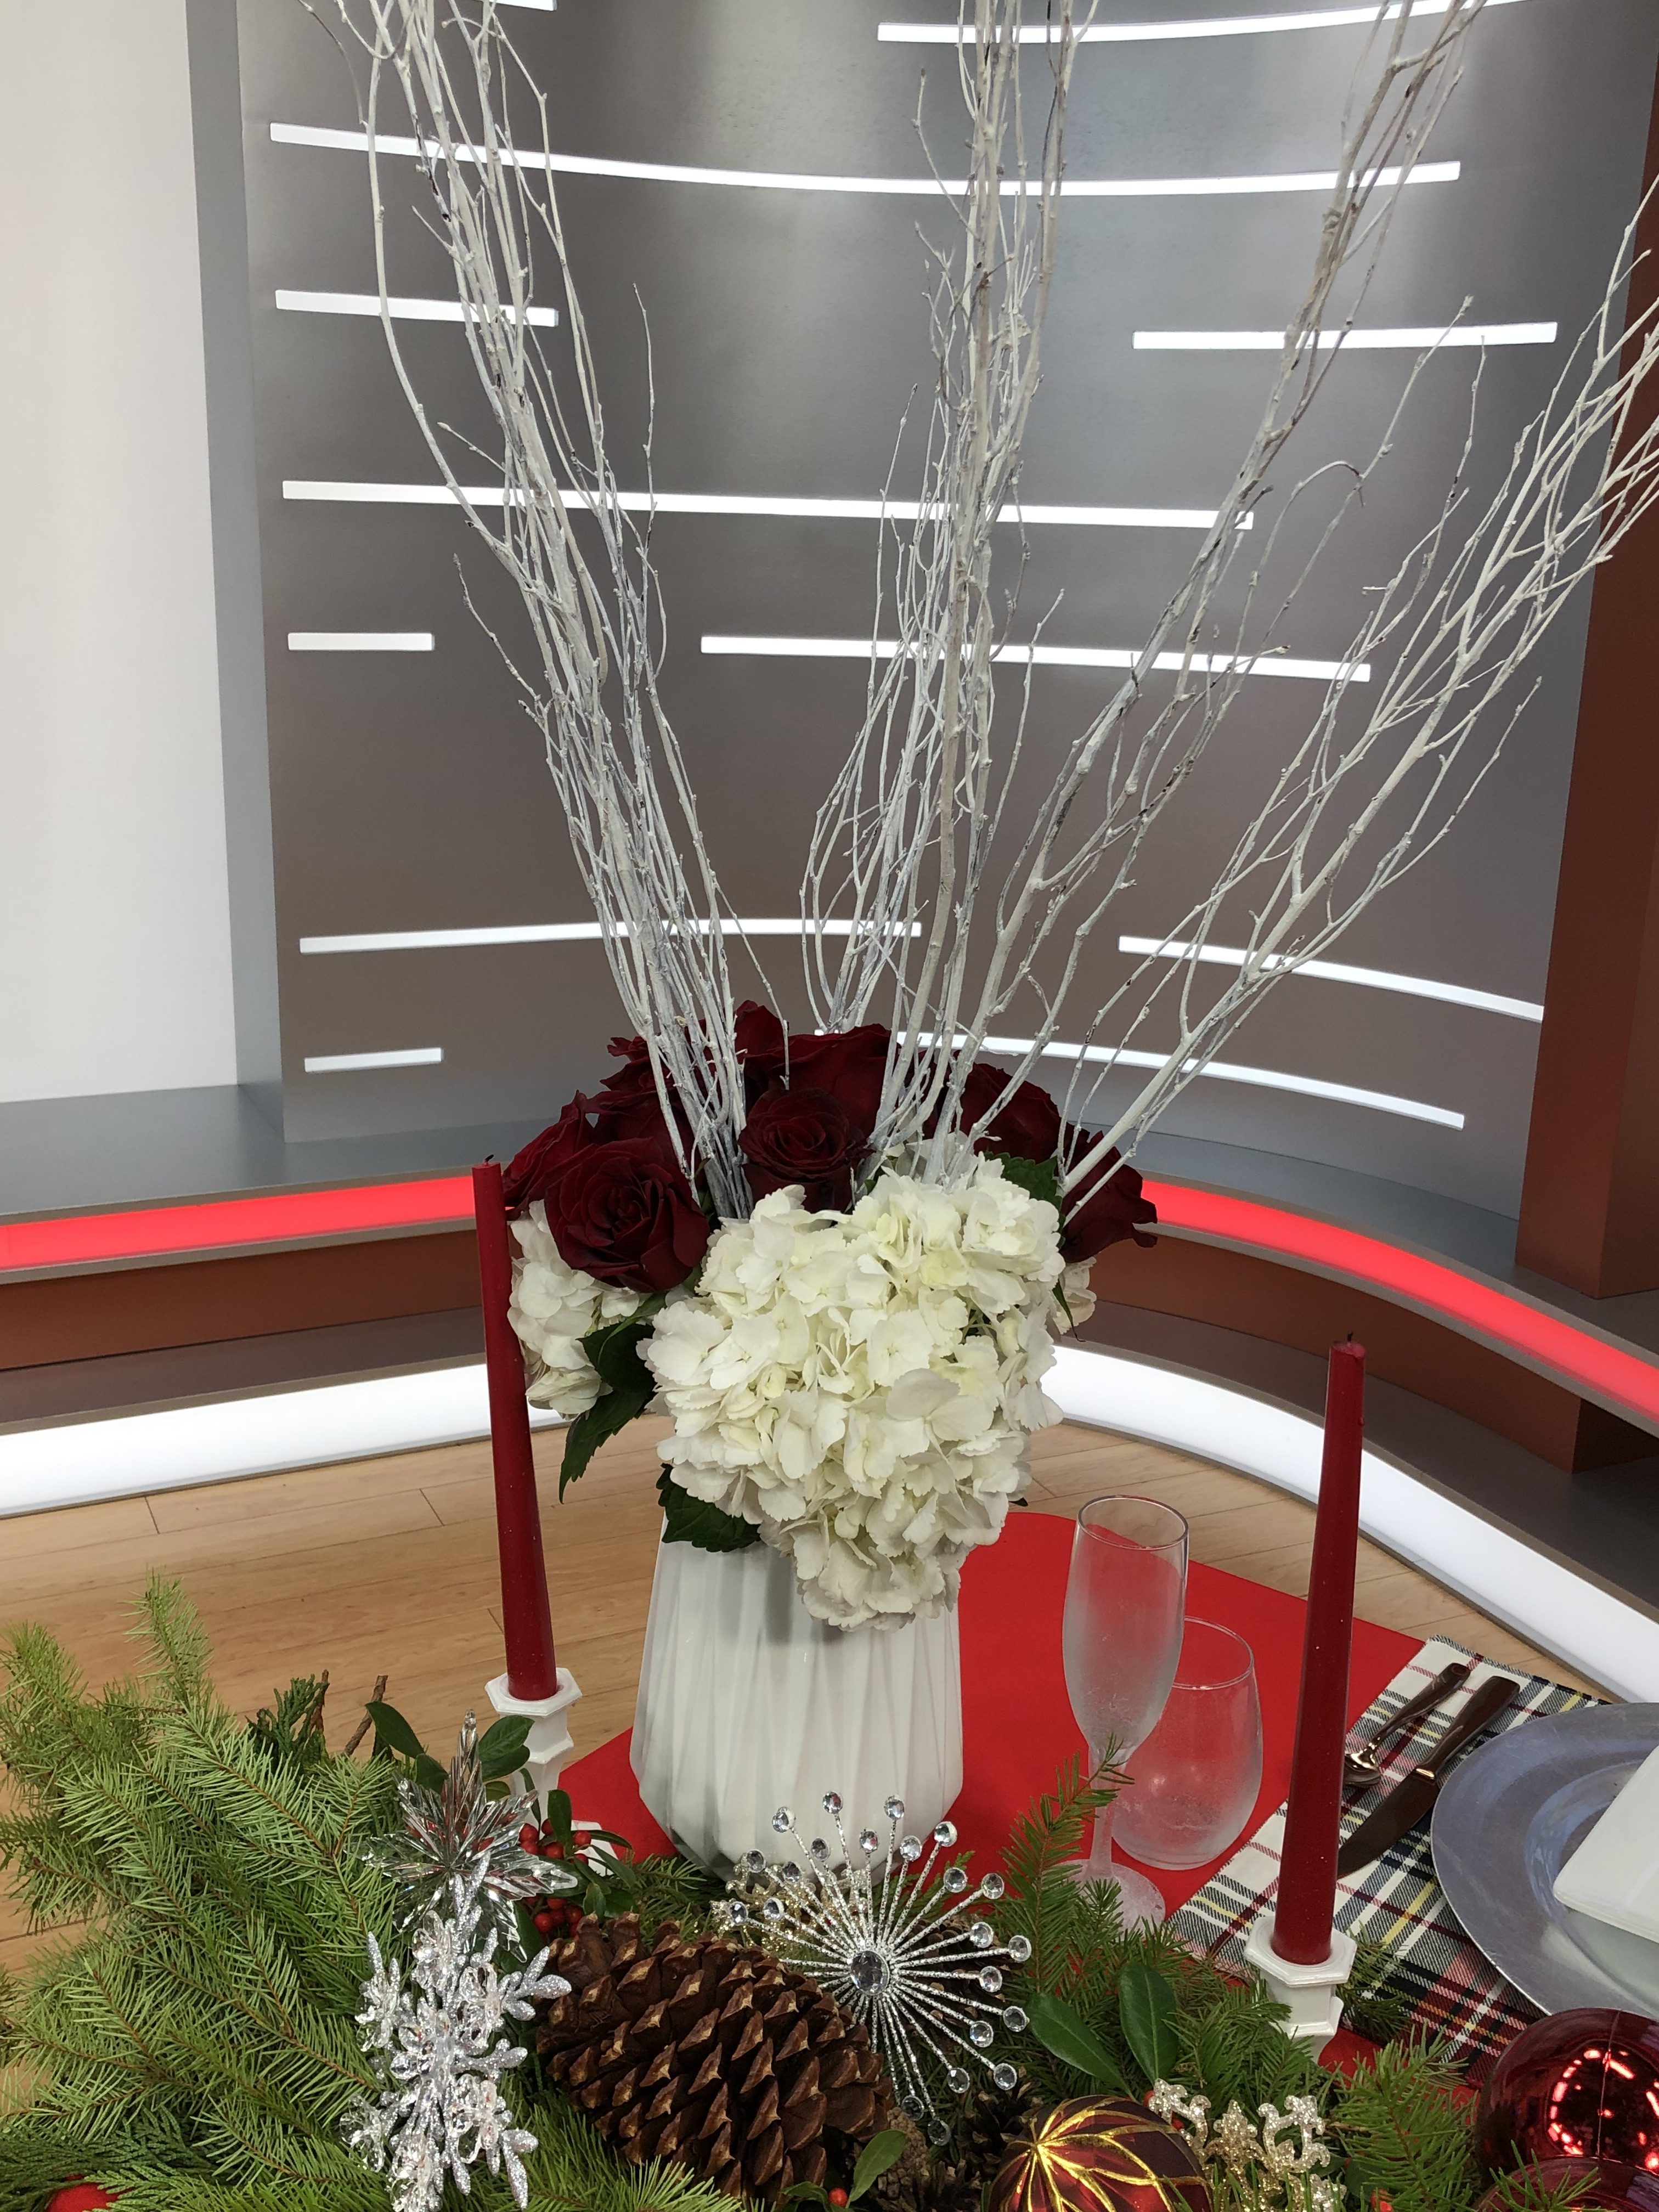 Use a tall vase and add some inexpensive tall white branches to anchor the look. You can either purchase them from any craft store – I bought a bunch for $2.50 – or if you have some around your yard, just use a few coats of white spray paint. Add some evergreen branches – which you can purchase from the florist or ask a Christmas Tree lot if they have any pieces that have broken off that you can have – plus some white hydrangea and a few red roses you can find at the grocery store for a pulled together and professional look to anchor your table design.
Holiday Candeholders: 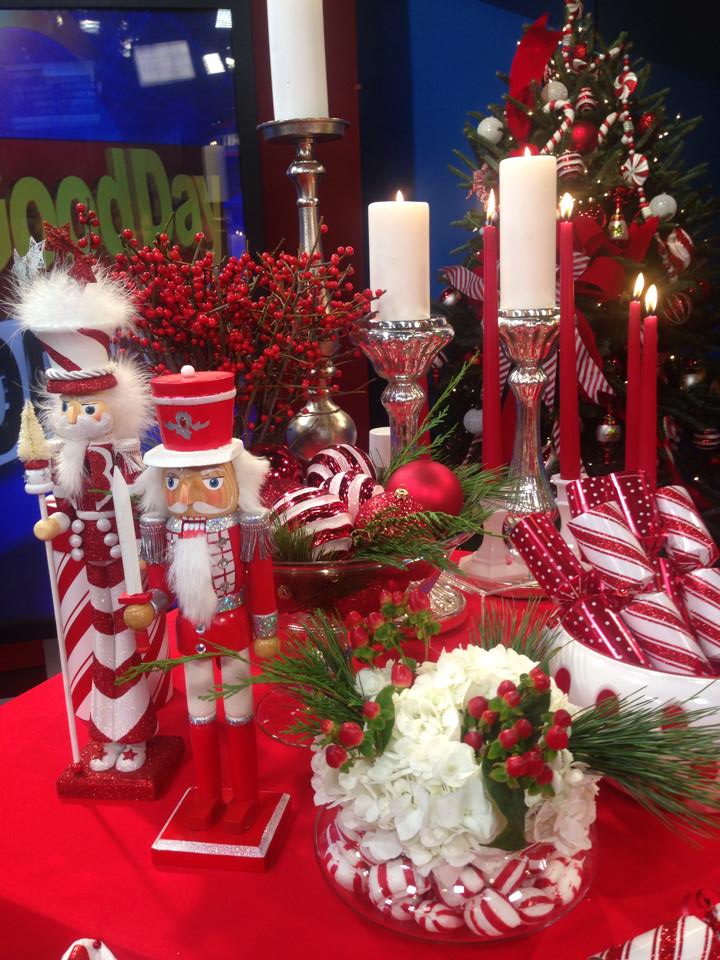
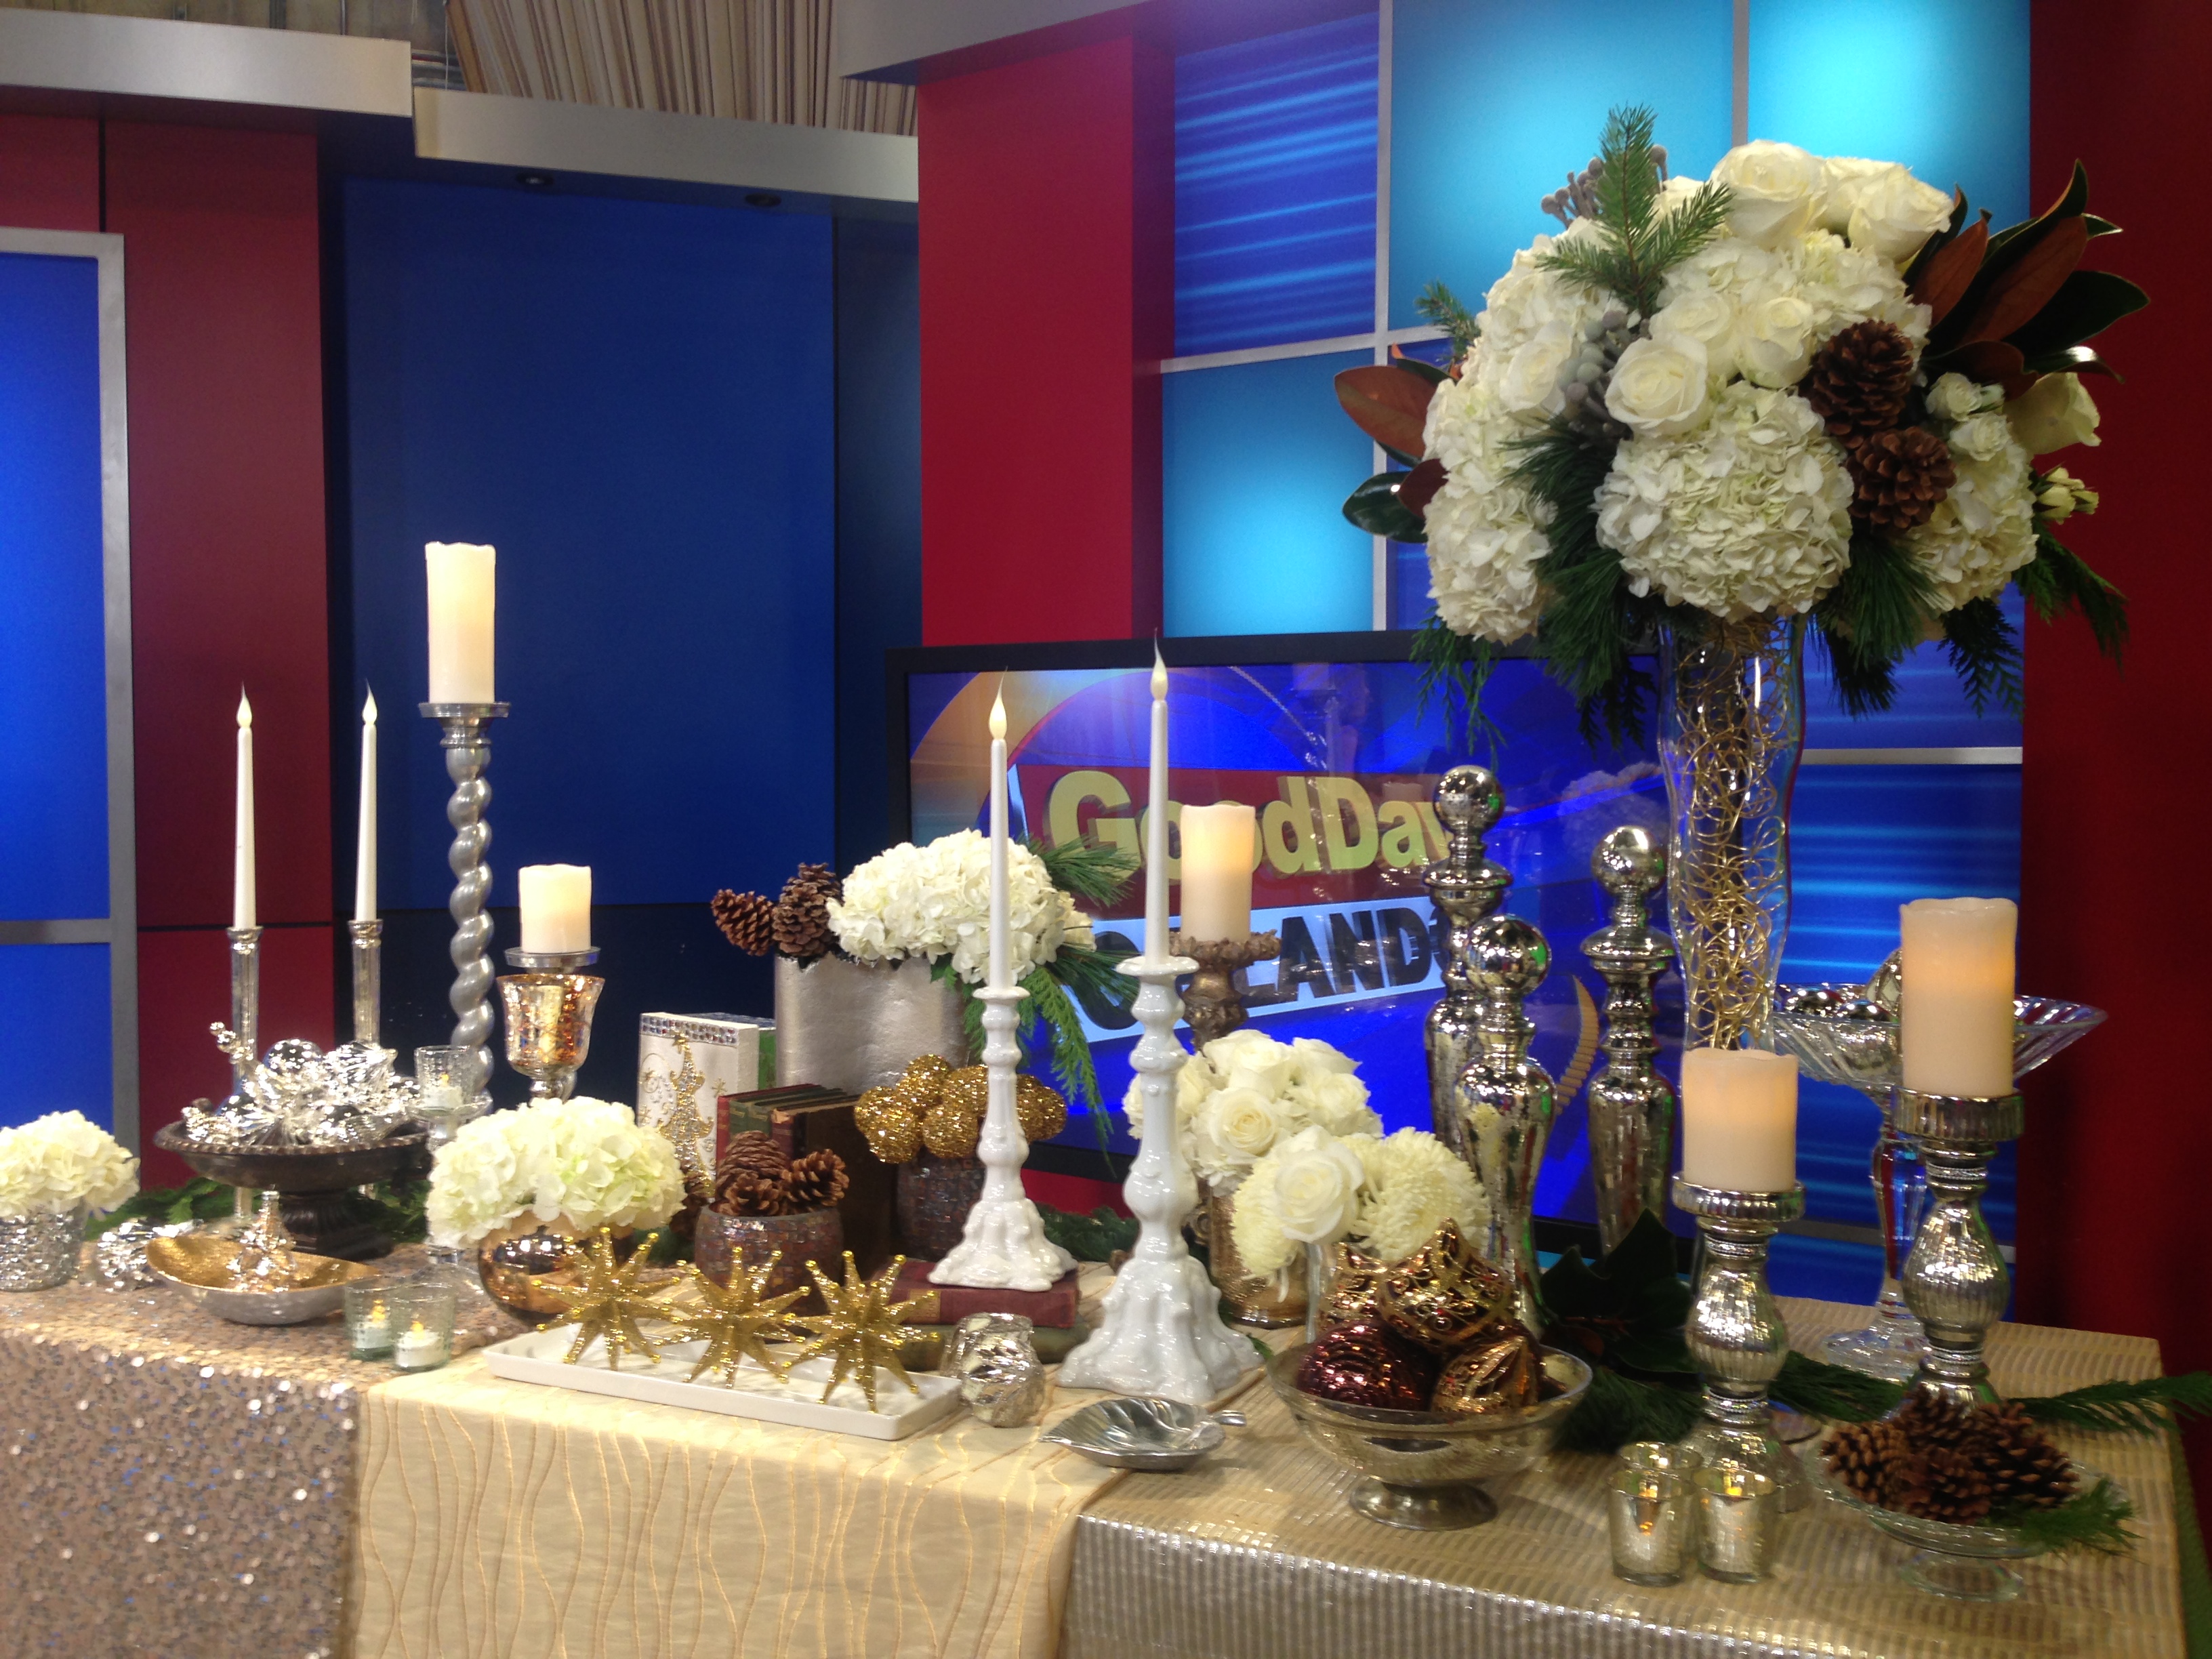 Purchase some inexpensive clear glass candleholders from the dollar store, a .99 can of white spray paint and some taper candles that were .50 each for a great centerpiece. I used five and it cost me less than $10 for a statement piece. You can stagger them across the table or place them inside of a table wreath for a gorgeous look.
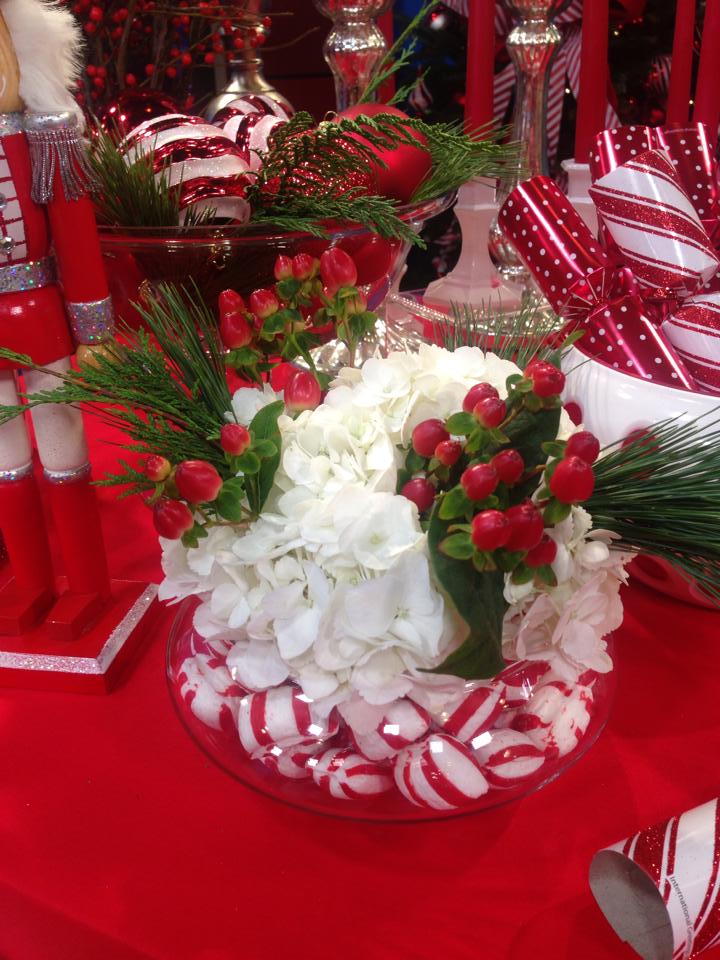
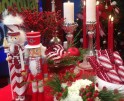
Garland Centerpiece:
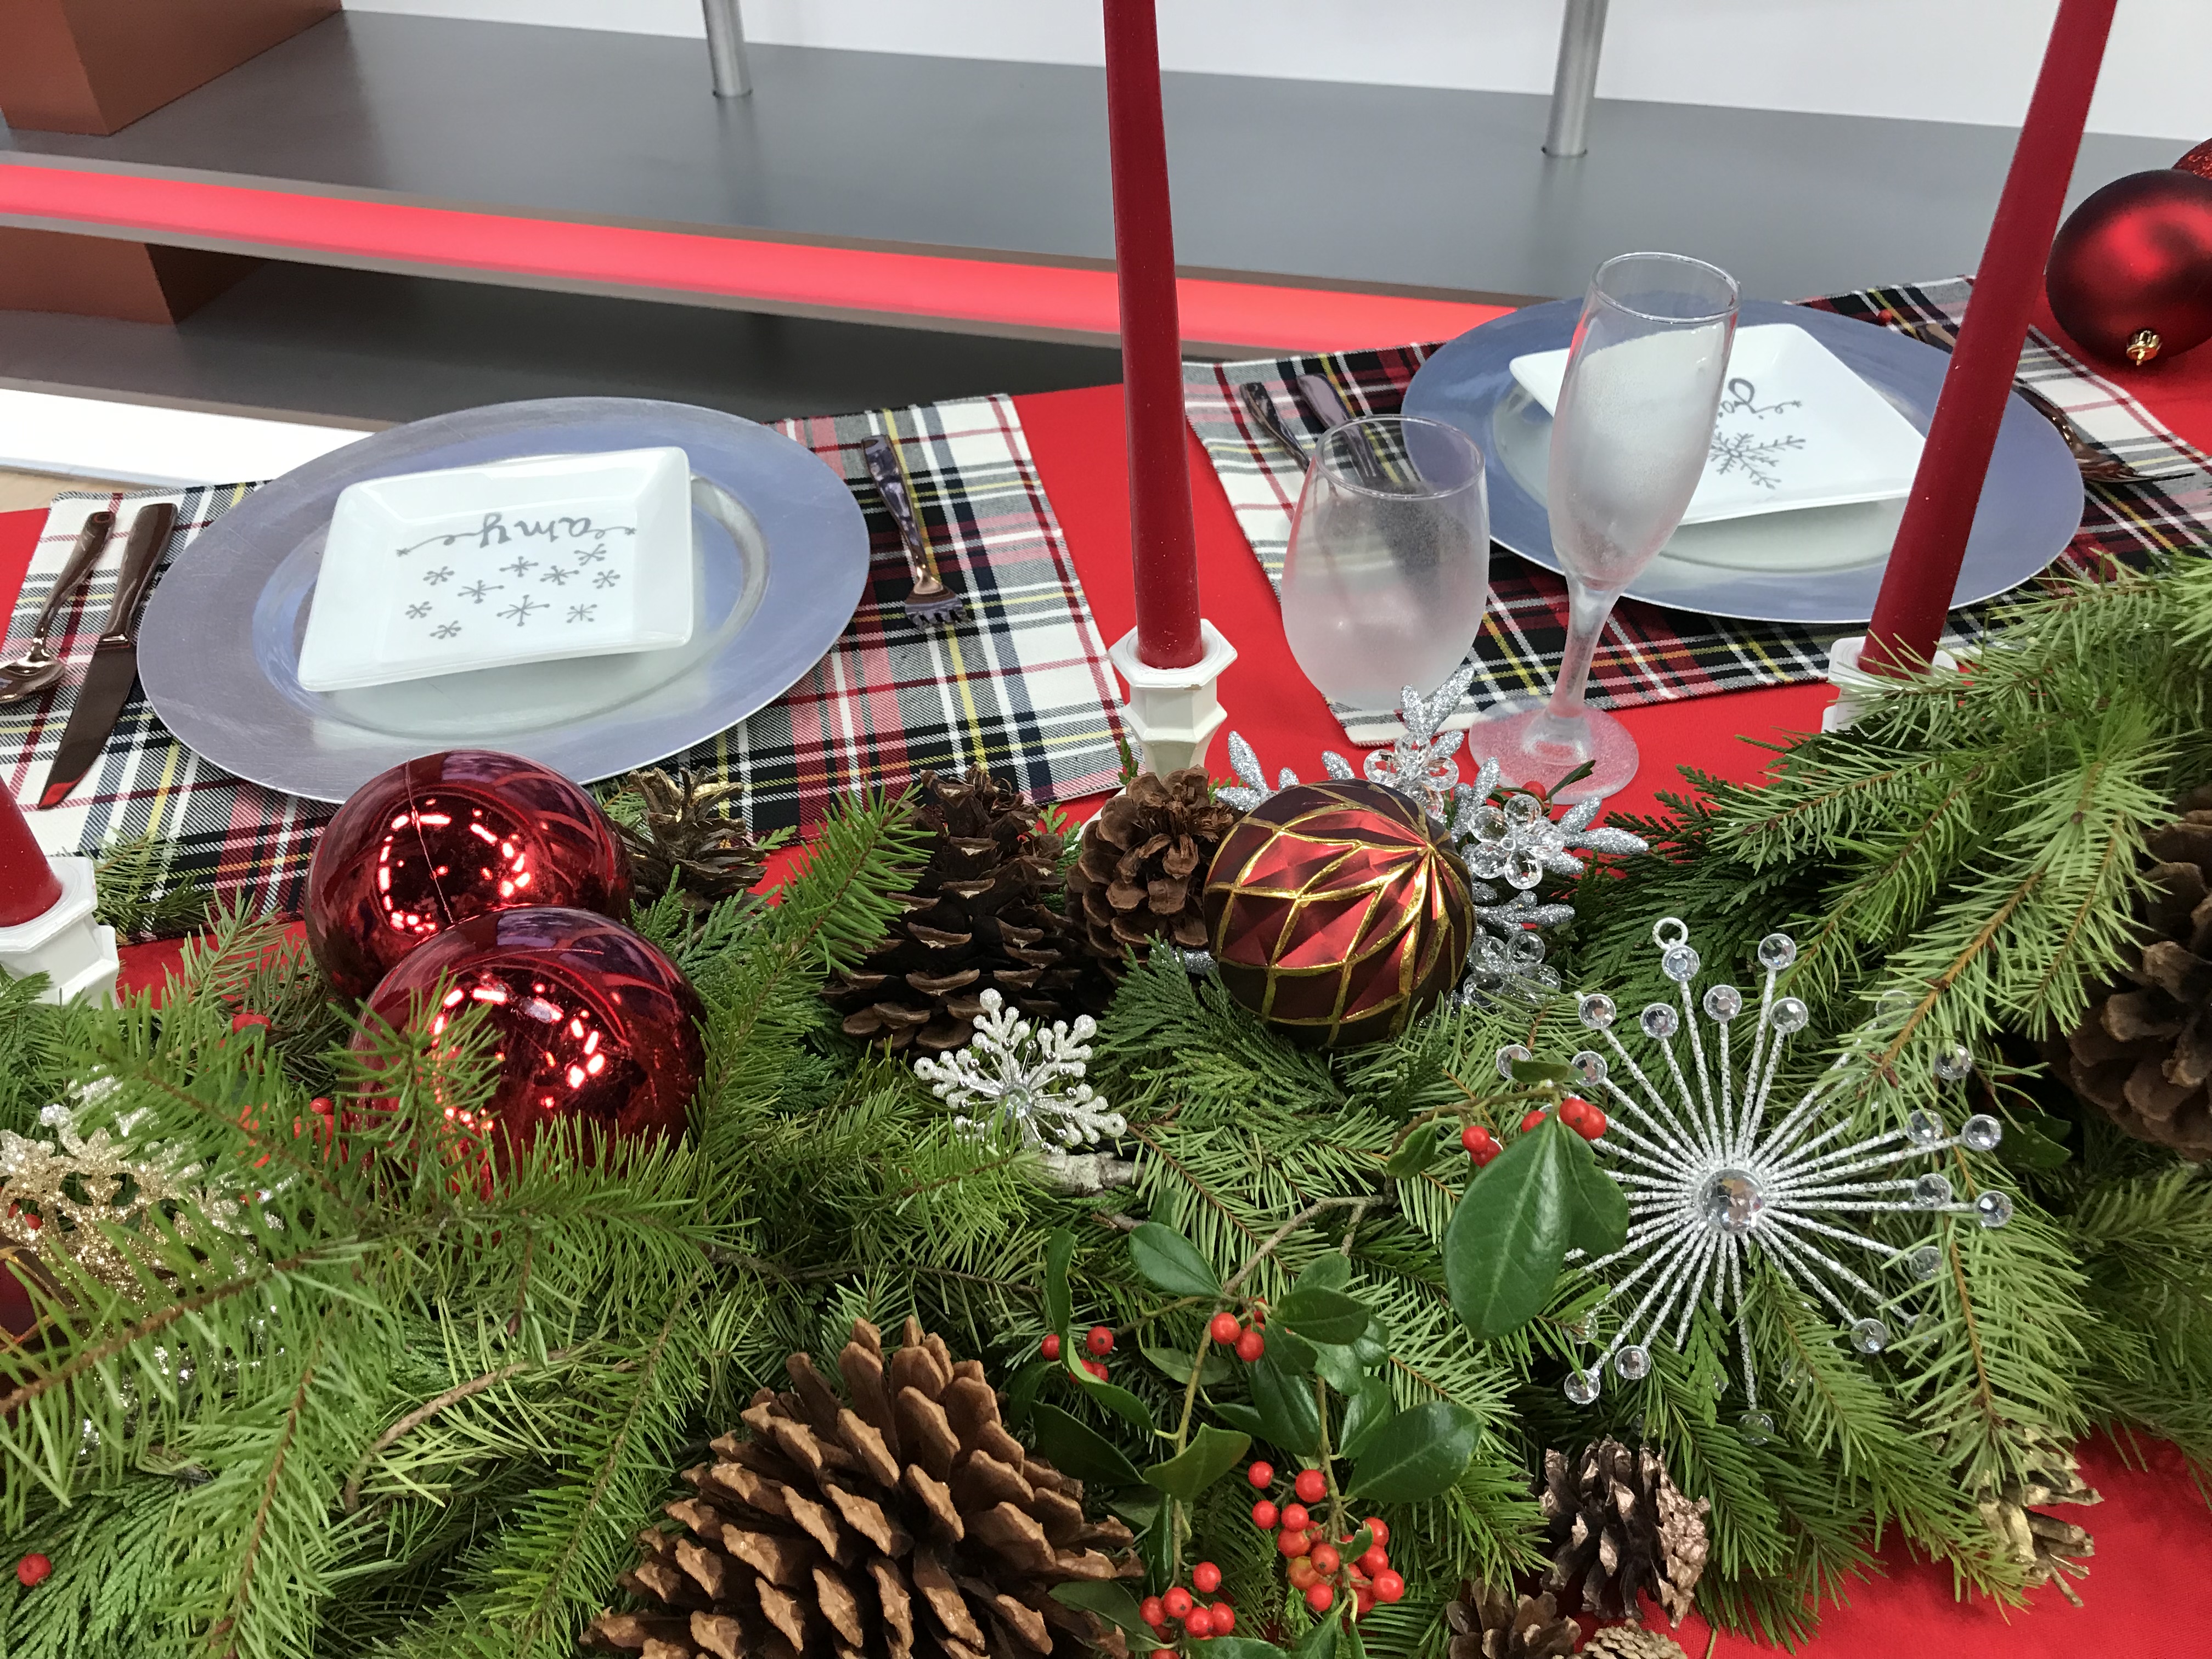
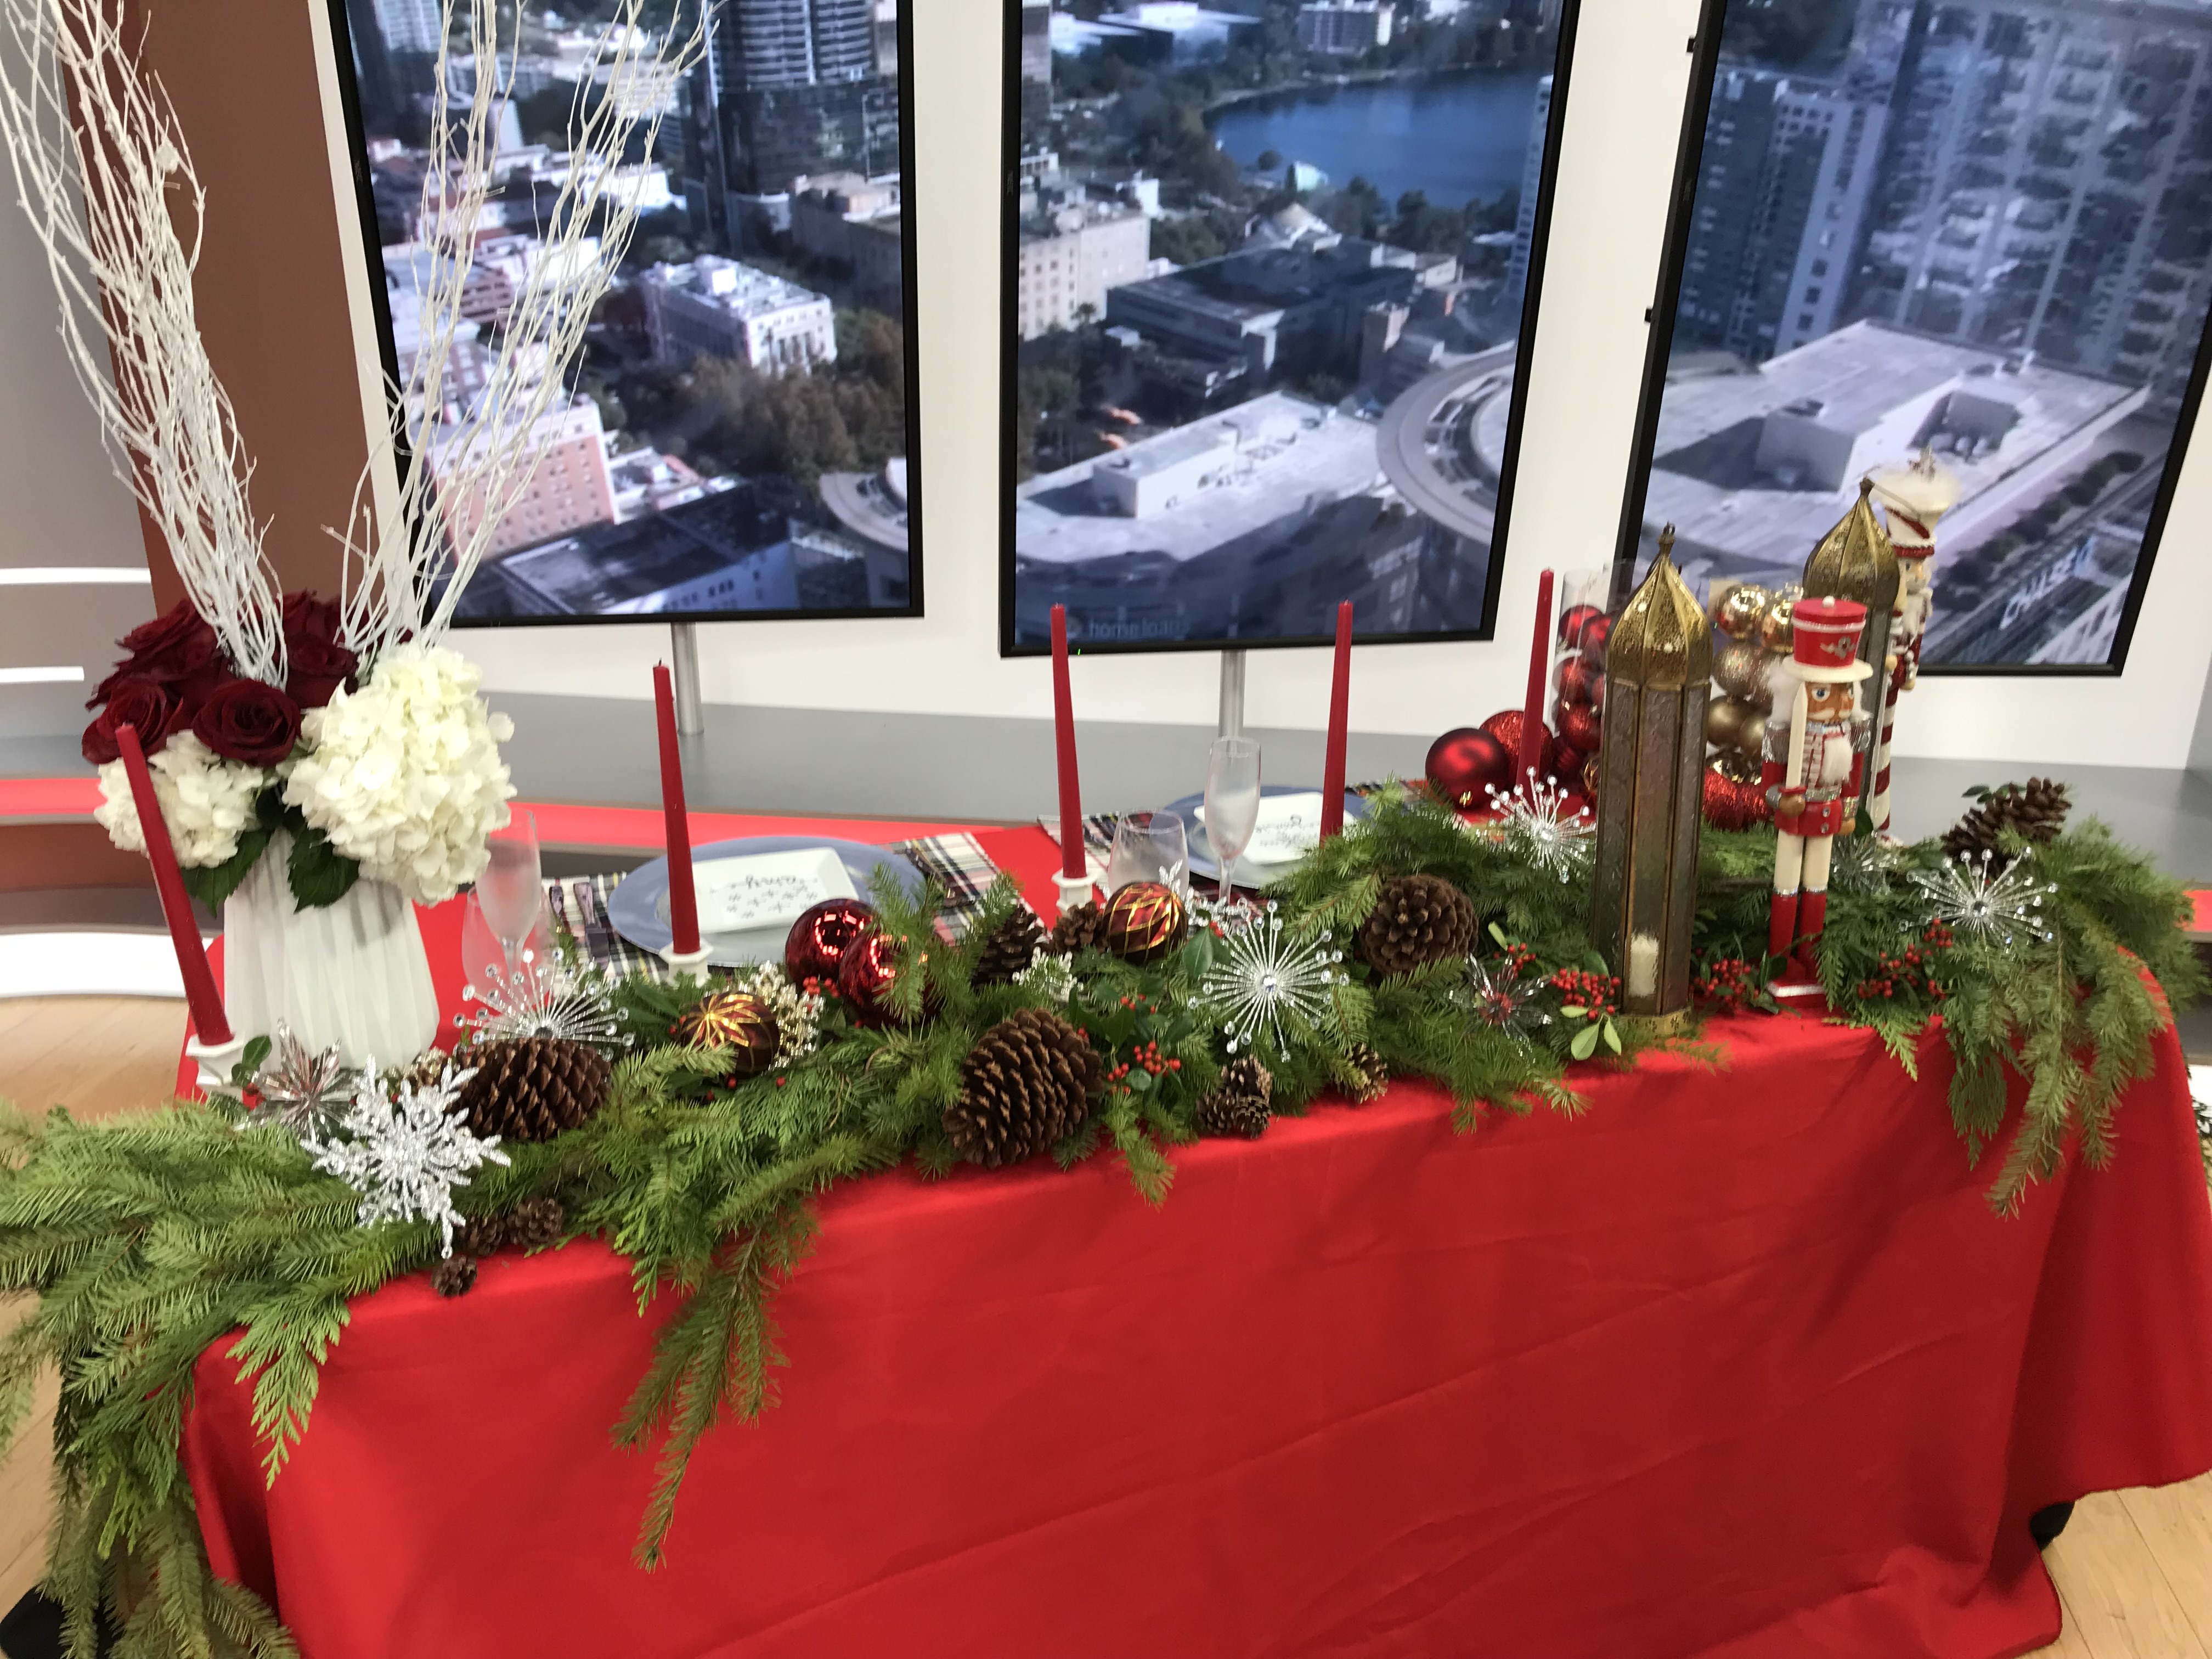 Take pieces of evergreen and line them down the center of the table for an evergreen garland. Fill footed bowls with simple pinecones or ornaments or use square glass vases with cranberries or redhot candies and filled with flowers and evergreen for your centerpieces. Mix in some low votive candles in clear vases and some toys to make your table look like the pros!
Step 3: Holiday Decor DIY Tips for your Table. Give these a try:
Snowy Designer Glassware:
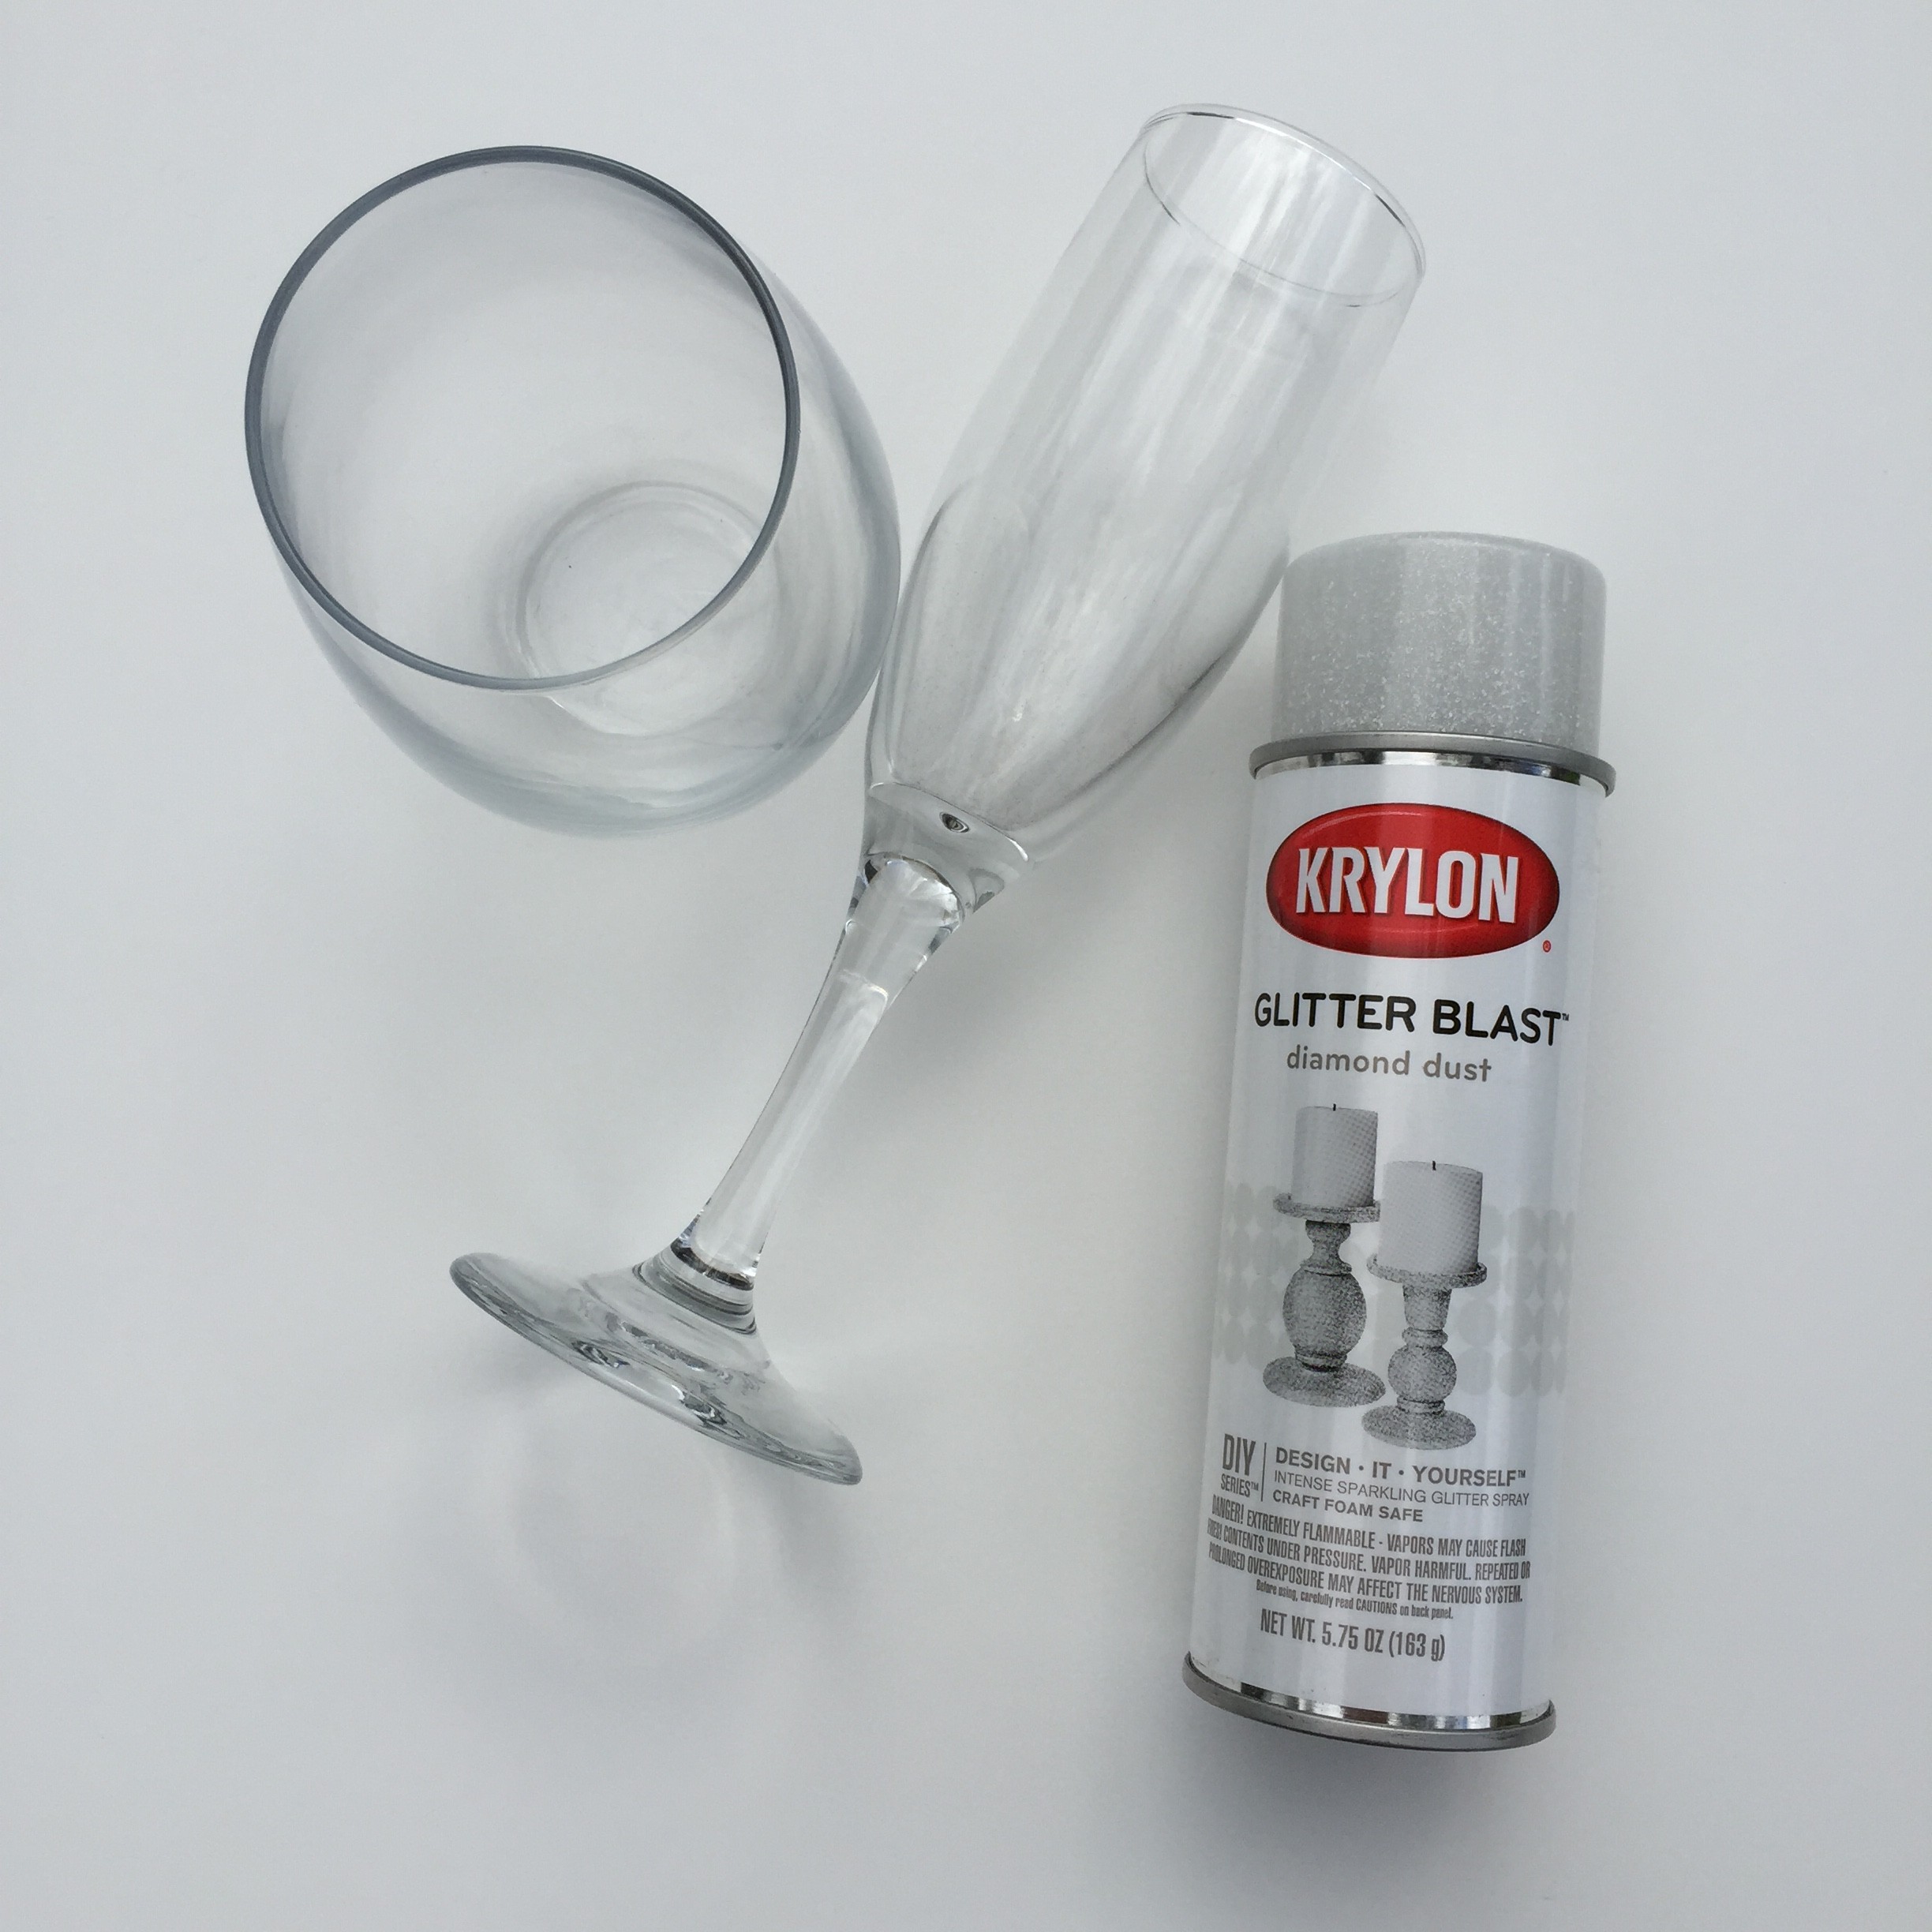 Upgrade your table with designer glassware you dream of from the department stores for that extra glam touch! Not in the budget? No worries, create this sparkling snowy set with basic $1 champagne and wine glasses plus a $7 can of craft white glitter blast spraypaint. Use sticky plastic wrap to cover the top half of the glass so the spraypaint doesn’t adhere near to where guests drink. Spray the bottom half of the glass and the stem to create that sparkling snowy designer look. Let dry and then cover the top half with paper again and seal with the clear spray. I recommend hand-washing the glasses so the spray stays in tact for many more uses.
Playful Plates:
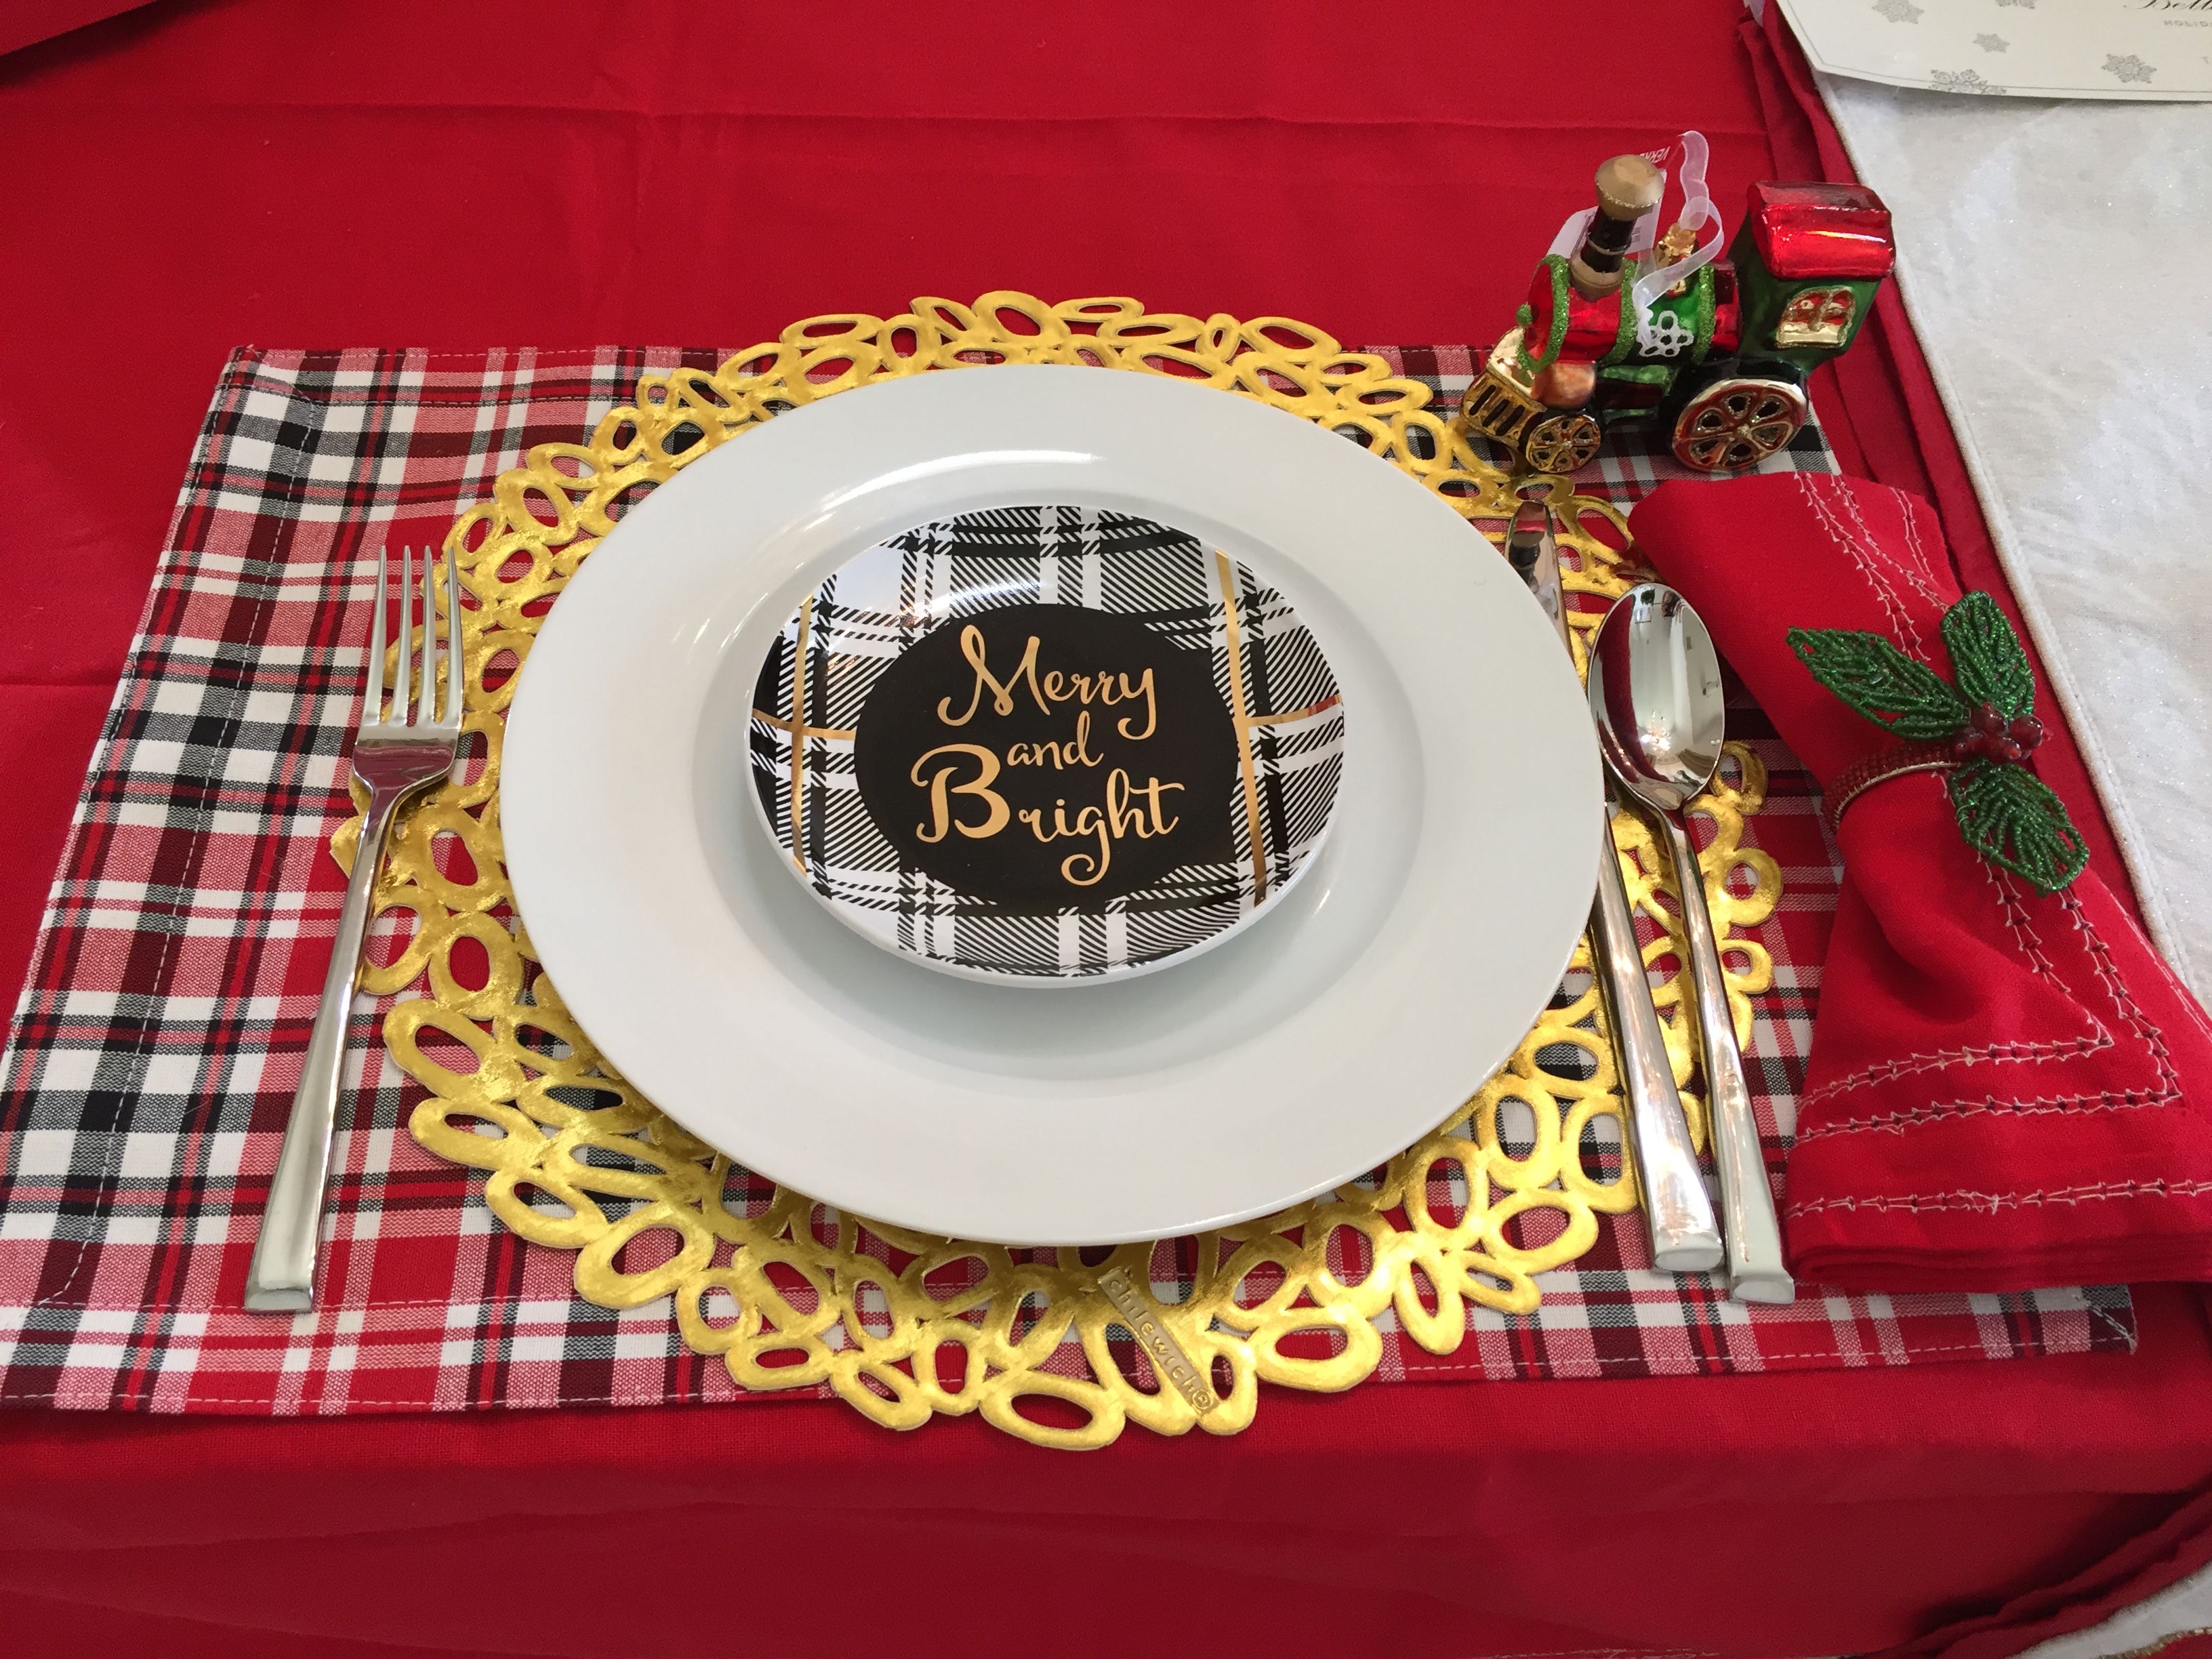 I generally use a set of (8) plain white plates that cost me $16 for all my tables and then add a fun colored salad plate for additional design and visual interest. I purchased these gold and black plaid holiday plates touting “Joy and Cheer” or “Merry and Bright”. A set of (4) plates was $10 so a small investment for a unique impact.
Personalized Namecard Plates:

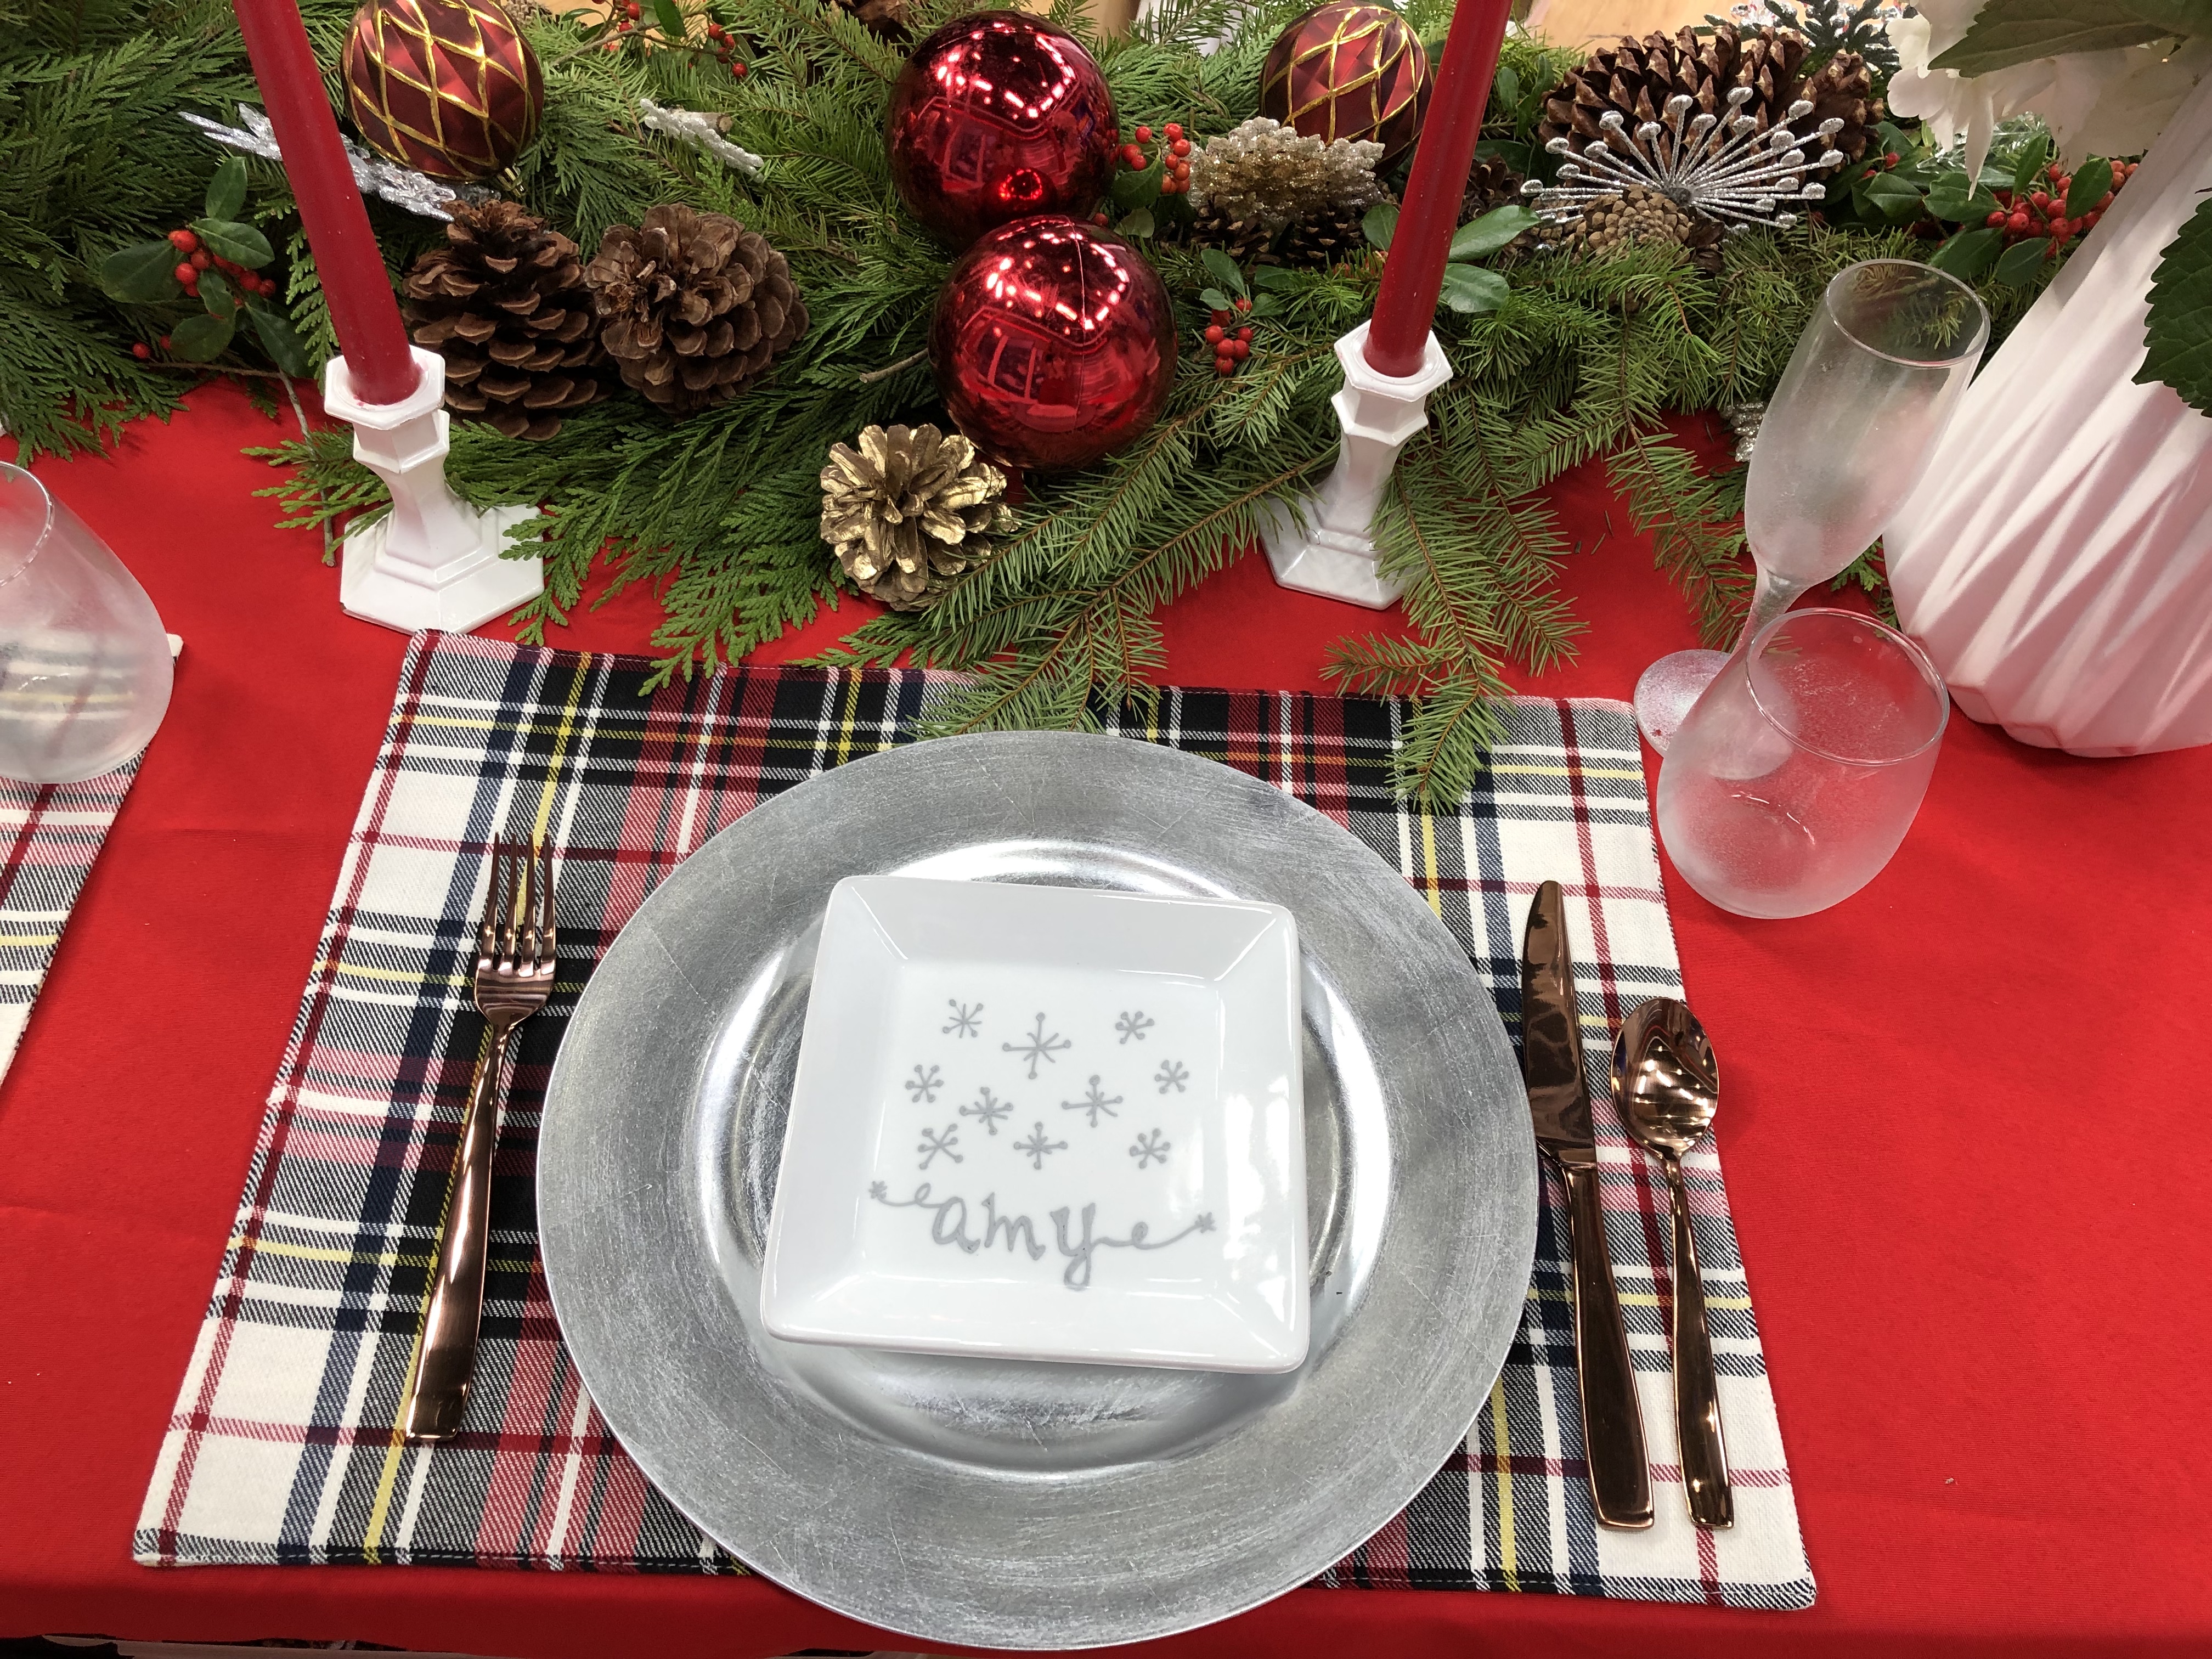
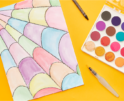
Draw a large decorative snowflake or variety of small snowflakes on the main center of the white plate. Write the guest’s name underneath the design at the bottom of the plate.
I used a silver metallic sharpie marker to create the look and then let them dry. *Quick Tip: Don’t worry if you make a mistake. Use a q-tip and some nailpolish remover to simply clean up your lines or wipe it off and start over – no worries at all!
Once dry, bake them in the oven at 350* for 20 minutes then let them cool in the oven to set. Once cooled, run the plates through the dishwasher and then you’ll have a designer set of placecard plates to make your table festive and your guests feel special.
*Gift Tip: Plate cookies on the plates after dinner and wrap with gifting cellophane, tie with a festive ribbon and nametag for a delicious and personalized surprise for each guest to take home from the party. Prep nametags and ribbons in advance so you just have to plate the cookies, pull the corners of the cellophane together and tie! You don’t want to spend a ton of time away from your guests… Or, a great project to keep the kids busy after dinner!
Resources:
If you are throwing a party, I recommend investing in a focal piece such as gorgeous rental linens from www.nuagedesigns.com which can be shipped directly to your home and a statement floral centerpiece from Lee Forrest Design www.leeforrestdesign.com

Recommended
-
How to Prep and Enjoy the Big Game!February 6th, 2023
-
Summer Beauty, Wellness + FunJune 24th, 2021
-

Cabin Fever Ideas and Activities while at HomeMarch 23rd, 2020
-
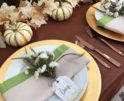
Easy (and healthier) Fall Entertaining TipsOctober 17th, 2019
-
Easy Holiday Decor DIY Decorate Like the ProsDecember 5th, 2018